Task 4: React Counter App
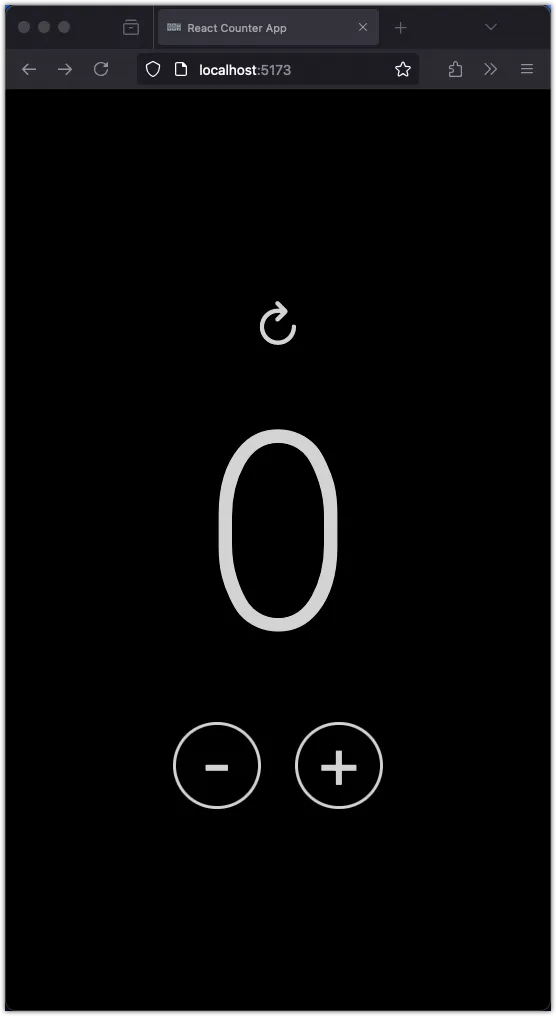
In this task, you will create a simple counter app using React. The app should have the following features:
- A counter that starts at 0.
- A button that increments the counter by 1.
- A button that decrements the counter by 1.
- A button that resets the counter to 0.
Step 1: Add global styles
Open the src/index.css file and add the following global styles:
html {
background-color: black;
color: lightgray;
font-family: "Courier New", Courier, monospace;
}
body {
display: flex;
justify-content: center;
align-items: center;
height: calc(100vh - 8rem);
margin: 0;
padding: 4rem 2rem 4rem 2rem;
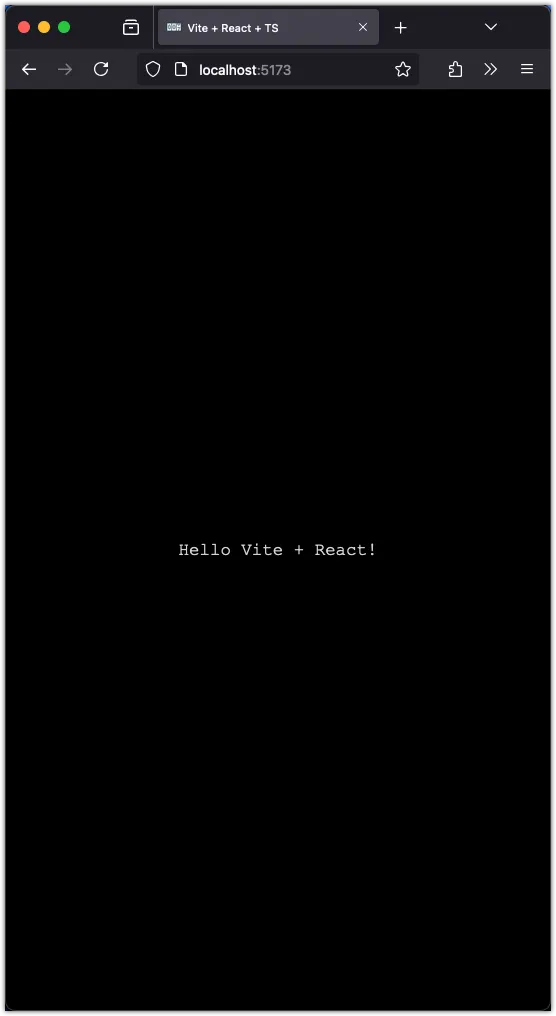
}Save the file and check the changes in the browser.

Step 2: Create the layout
Let’s update the src/App.tsx file to create the layout for the counter app.
import "./App.css";
function App() {
return (
<div>
<div className="control">
<button id="reset">↻</button>
</div>
<div id="counter">0</div>
<div className="control">
<button id="decrement">-</button>
<button id="increment">+</button>
</div>
</div>
);
}
export default App;Notice what the App function returns is fairly similar to the layout we created in the previous task.
app!.innerHTML = `
<div class="control">
<button id="reset">↻</button>
</div>
<div id="counter">0</div>
<div class="control">
<button id="decrement">-</button>
<button id="increment">+</button>
</div>
`;Let’s break down the differences:
-
We are using JSX syntax in the React component (
Appfunction) instead of string interpolation. This makes the code more readable and maintainable. Here we would not be making mistakes like forgetting to close a tag or missing a closing quotation mark which can happen when using string interpolation. -
We are using
classNameinstead ofclassfor adding CSS classes to the elements. This is becauseclassis a reserved keyword in JavaScript, so React usesclassNameto avoid conflicts. -
We are wrapping the JSX code in a
divelement. This is because each React component (theAppfunction in this case) should return a single root element. If you have multiple elements to return, you need to wrap them in a parent element. In this case, we are using adivelement as the parent. It is common to use a fragment (<></>) instead of adivif you don’t want to introduce an extradivin the DOM.function App() { return ( <div> <div className="control"> <button id="reset">↻</button> </div> <div id="counter">0</div> <div className="control"> <button id="decrement">-</button> <button id="increment">+</button> </div> </div> ); }
React apps are made up of components, which are reusable pieces of code that represent parts of the user interface. In this case, the App component represents the entire counter app.
Each component is a function that returns a React Element, which is a JavaScript object describing a DOM node (HTML element) and its properties. We use JSX (JavaScript XML) syntax to create these React Elements.
JSX allows us to write HTML-like code within our JavaScript or TypeScript files, making it easier to express the structure and content of our UI components. It is then transpiled into regular JavaScript code by tools like Babel or TypeScript.
By using JSX, we can leverage the full power of JavaScript to dynamically generate and manipulate the UI, while also benefiting from the readability and familiarity of HTML-like syntax.
Step 3: Add styles for the layout
Update the src/App.css file with the following styles:
#counter {
font-size: 18rem;
text-align: center;
}
.control {
display: flex;
justify-content: center;
align-items: center;
gap: 2rem;
}
#increment,
#decrement {
width: 5rem;
height: 5rem;
border-radius: 50%;
border: 0.2rem solid lightgray;
background-color: transparent;
font-size: 4rem;
cursor: pointer;
display: flex;
justify-content: center;
align-items: center;
color: lightgray;
transition: background-color 0.3s, color 0.3s;
padding-bottom: 0.5rem;
}
#increment:hover,
#decrement:hover {
background-color: lightgray;
color: black;
}
#reset {
background-color: transparent;
font-size: 3rem;
cursor: pointer;
display: flex;
justify-content: center;
align-items: center;
color: lightgray;
border: none;
padding-bottom: 0.5rem;
}We keep the styles related to the counter in a separate CSS file (App.css) from the global styles (index.css). This helps in organizing the styles and keeping them modular.
Save the file and check the changes in the browser.

Step 4: Use a variable to store the counter value
In the App component, let’s use a variable to store the counter value.
function App() {
const count = 0;
return (
<div>
<div className="control">
<button id="reset">↻</button>
</div>
<div id="counter">{count}</div>
<div className="control">
<button id="decrement">-</button>
<button id="increment">+</button>
</div>
</div>
);
}Notice that we are using the const keyword to declare a variable count and initializing it with the value 0. This variable will hold the current value of the counter.
To display the value of the counter, we are using {count} inside the div element with the id counter. This is an example of interpolation in JSX, where we can embed JavaScript expressions within curly braces {} to include dynamic content in our components.
Try the following code changes and view the updated counter value in the browser.
- Change the value of
countto10and see how the counter value changes. - Change the
{count}expression to{count + 5}and see how the counter value is updated.
Reset the value of count to 0 and update the {count + 5} expression back to {count} before moving to the next step.
Step 5: Add event handlers for buttons
We need to add event handlers for the buttons to increment, decrement, and reset the counter value.
function App() {
let count = 0;
const updateCounter = (action: "increment" | "decrement" | "reset"): void => {
if (action === "increment") {
count = count + 1;
} else if (action === "decrement") {
count = count - 1;
} else if (action === "reset") {
count = 0;
}
console.log(count);
};
return (
<div>
<div className="control">
<button
id="reset"
onClick={() => {
updateCounter("reset");
}}
>
↻
</button>
</div>
<div id="counter">{count}</div>
<div className="control">
<button
id="decrement"
onClick={() => {
updateCounter("decrement");
}}
>
-
</button>
<button
id="increment"
onClick={() => {
updateCounter("increment");
}}
>
+
</button>
</div>
</div>
);
}In the App component, we have defined a function updateCounter that takes an action as an argument (increment, decrement, or reset) and updates the count variable accordingly. We changed the count variable to let so that we can reassign its value inside the function.
We are using the onClick event handler to call this function when the buttons are clicked. The arrow function syntax () => {} allows us to pass arguments to the updateCounter function based on the button clicked. Notice how we can do this directly in JSX whereas in vanilla JavaScript we would have to get the element by id and then attach an event listener. The only difference is that in React, we use camelCase for event names like onClick instead of onclick.
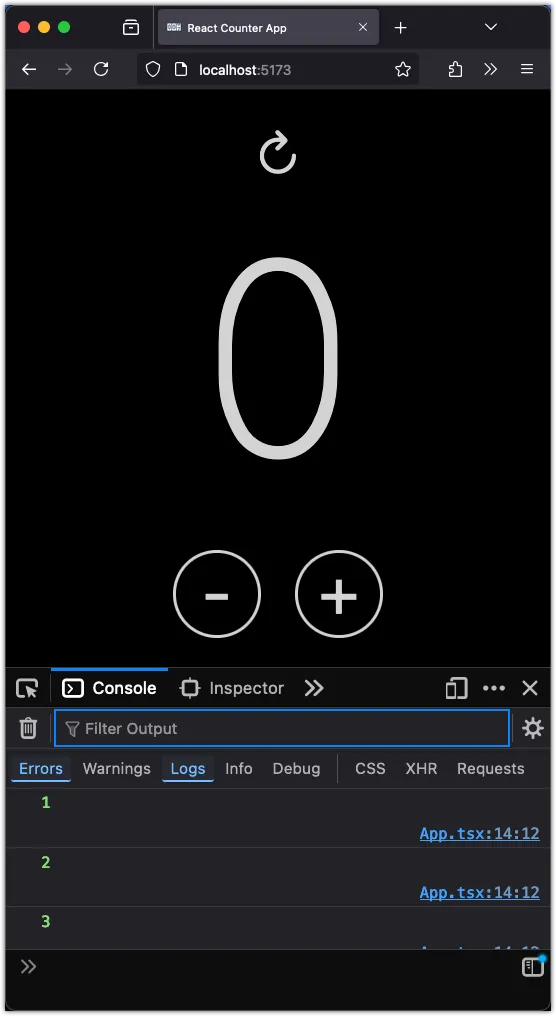
Try clicking the buttons in the browser and observe how the counter value changes. You should see the counter value logged to the console each time a button is clicked.

Step 6: Update the counter value in the UI
To update the counter value in the UI when the buttons are clicked, we need to use state in React. State allows us to manage and update data within a component, and when the state changes, React automatically re-renders the component to reflect those changes.
Let’s update the App component to use state for the counter value.
import { useState } from "react";
import "./App.css";
function App() {
const [count, setCount] = useState(0);
const updateCounter = (action: "increment" | "decrement" | "reset"): void => {
if (action === "increment") {
setCount(count + 1);
} else if (action === "decrement") {
setCount(count - 1);
} else if (action === "reset") {
setCount(0);
}
};
return (
<div>
<div className="control">
<button
id="reset"
onClick={() => {
updateCounter("reset");
}}
>
↻
</button>
</div>
<div id="counter">{count}</div>
<div className="control">
<button
id="decrement"
onClick={() => {
updateCounter("decrement");
}}
>
-
</button>
<button
id="increment"
onClick={() => {
updateCounter("increment");
}}
>
+
</button>
</div>
</div>
);
}
export default App;In this updated version of the App component, we are using the useState hook from React to create a state variable count and a function setCount to update the value of count. The useState hook takes an initial value (0 in this case) and returns an array with the current state value and a function to update that value.
When the buttons are clicked, we call the updateCounter function with the appropriate action (increment, decrement, or reset). Inside this function, we use setCount to update the value of count based on the action.
React will automatically re-render the component when the state changes, so the counter value displayed in the UI will be updated accordingly.
Try clicking the buttons in the browser and observe how the counter value changes. You should see the counter value updated in the UI (without any console logs since we removed the console.log(count) statement).
The useState Hook
The useState hook is a built-in function in React that allows React components to manage state. State refers to data that can change over time and affects the behavior and appearance of the component.
When you call useState, it returns an array with two elements: the current state value and a function to update the state. The initial state is provided as an argument to useState.
For example, in the code snippet const [count, setCount] = useState(0); we are initializing the state variable count with the value 0 and the function setCount to update the value of count.
When you call setCount(newValue), React will update the state value and re-render the component to reflect the changes. This is how React manages the state of a component and ensures that the UI is always in sync with the data.
You should never modify the state directly in React. Always use the setter function provided by useState to update the state. This ensures that React can track the changes and trigger re-renders when necessary.
Conclusion
In this task, you created a simple counter app using React. You learned how to:
- Create a React component using JSX syntax.
- Use state to manage data within a component.
- Update the UI based on state changes.
- Handle events and update state based on user interactions.
- Use the
useStatehook to manage state in functional components. - Organize styles using CSS files and apply them to React components.
- Interpolate JavaScript expressions within JSX to display dynamic content.
- Use event handlers like
onClickto respond to user actions. - Implement a basic counter app with increment, decrement, and reset functionality.
- Understand the role of components, state, and hooks in React development.