Task 1: Create a Fullstack Application
In this task, you will create a fullstack application by integrating the backend API server with the frontend client. The backend API server is a RESTful API server that provides CRUD operations for posts and comments. The frontend client is a React application that consumes the backend API server.
Step 1: Create a new repository
Create a new folder for the fullstack application. Add a README.md and .gitignore file to the directory and initialize a new Git repository.
Next, copy over the api and web directories from the previous chapters.
The api directory
You should have the following files in the api directory:
.
├── .prettierrc.json
├── drizzle.config.ts
├── package.json
├── pnpm-lock.yaml
├── src
│ ├── app.ts
│ ├── db
│ │ ├── index.ts
│ │ ├── migrate.ts
│ │ ├── schema.ts
│ │ └── seed.ts
│ ├── routes
│ │ ├── comments.ts
│ │ └── posts.ts
│ ├── server.ts
│ └── validators
│ └── schemas.ts
└── tsconfig.jsonOpen the api directory in your terminal and run the following commands:
cd api
pnpm install
pnpm db:push
pnpm db:seed
pnpm devThese commands will install the dependencies, create the database, seed the database with test data, and start the API server.
Before moving on to the next step, make sure the API server is running and you can access the API at http://localhost:3000. You test the /posts and /comments endpoints to make sure the server is working correctly.
The web directory
You should have the following files in the web directory:
.
├── .env.example
├── .eslintrc.cjs
├── .prettierignore
├── .prettierrc.json
├── components.json
├── index.html
├── package.json
├── pnpm-lock.yaml
├── postcss.config.js
├── public
│ └── favicon.svg
├── src
│ ├── App.tsx
│ ├── components
│ │ ├── add-post.tsx
│ │ ├── delete-post-dialog.tsx
│ │ ├── edit-post.tsx
│ │ ├── feed.tsx
│ │ ├── header.tsx
│ │ ├── post-actions.tsx
│ │ ├── post.tsx
│ │ ├── posts.tsx
│ │ ├── sidebar.tsx
│ │ └── ui
│ │ ├── alert-dialog.tsx
│ │ ├── button.tsx
│ │ ├── buttonVariants.tsx
│ │ ├── label.tsx
│ │ ├── textarea.tsx
│ │ ├── toast.tsx
│ │ ├── toaster.tsx
│ │ └── use-toast.ts
│ ├── data
│ │ ├── api.ts
│ │ └── types.ts
│ ├── env.ts
│ ├── hooks
│ │ ├── use-mutation-posts.tsx
│ │ └── use-query-posts.tsx
│ ├── index.css
│ ├── lib
│ │ ├── store.ts
│ │ └── utils.ts
│ ├── main.tsx
│ └── vite-env.d.ts
├── tailwind.config.js
├── tsconfig.app.json
├── tsconfig.json
├── tsconfig.node.json
└── vite.config.tsOpen the web directory in your terminal and run the following commands:
cd web
echo "VITE_API_URL=http://localhost:3000" > .env
pnpm install
pnpm run devThese commands will create a .env file with the VITE_API_URL environment variable set to http://localhost:3000, install the dependencies, and start the web application.
Open the web application in your browser at http://localhost:5173. You should see the Posts application with an error message that says “There was an error reading posts.”
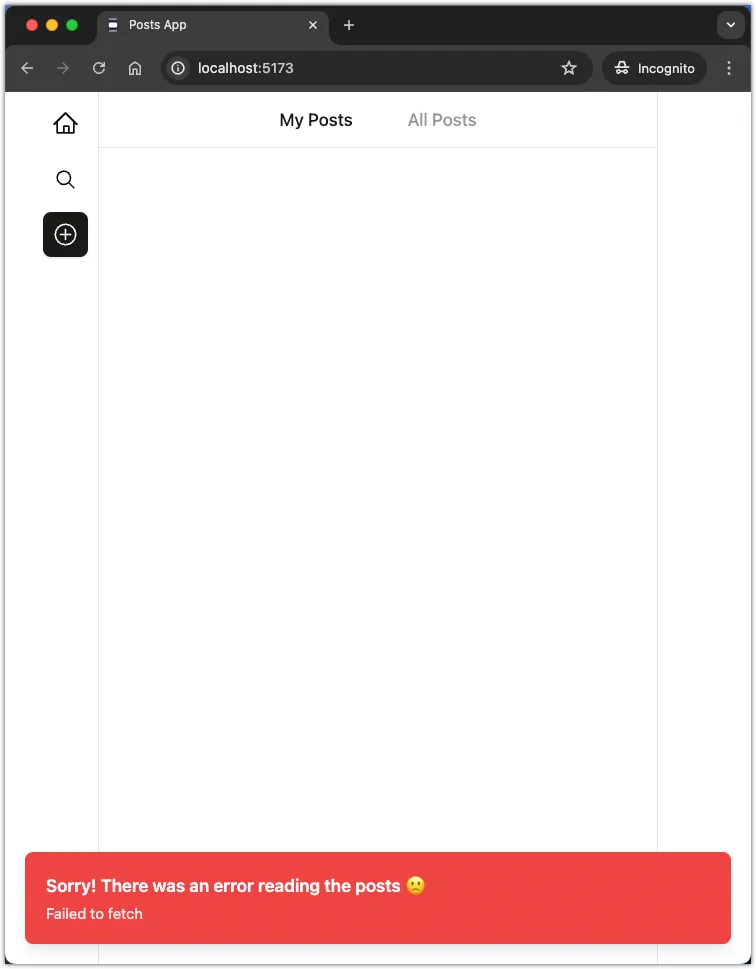
Open the console in your browser’s developer tools to see the error message.
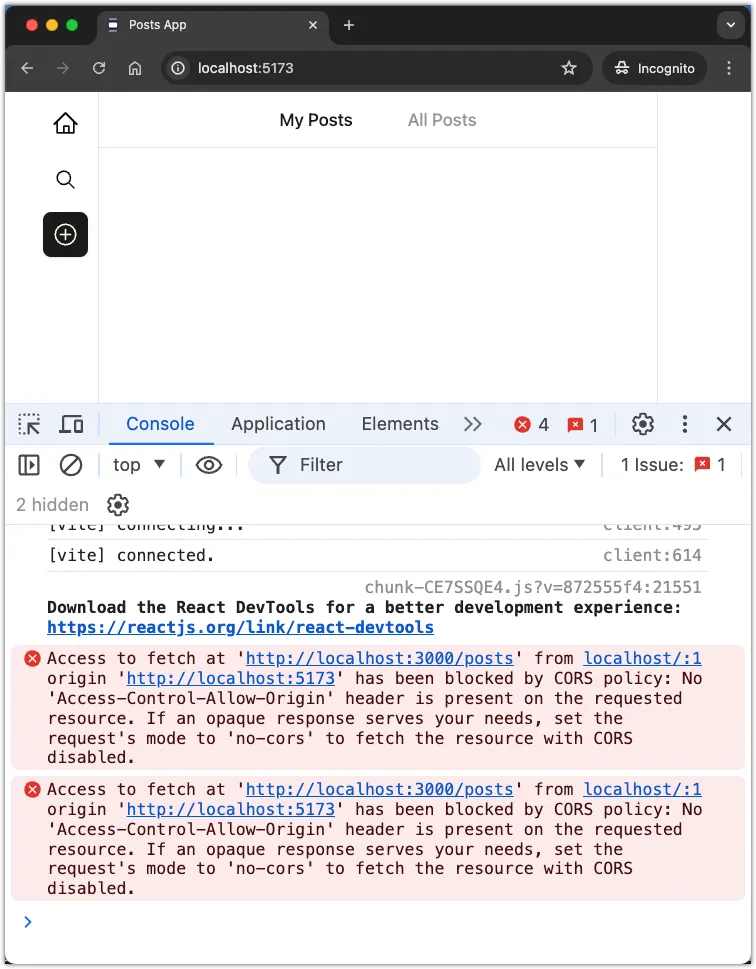
The error message indicates that the web application is unable to fetch posts from the API server. This is because the API server does not have CORS enabled.
We will fix this issue in the next step.
Step 2: Update the API server
In this step, we will update the API server to enable CORS. This will allow the web application to make requests to the API server from a different domain.
Open api/src/app.ts file and add the cors middleware to the server.
+ import { cors } from "hono/cors";
// other imports
const app = new Hono();
+ app.use("/*", cors());
// the rest of the codeIn the code above, we import the cors middleware from Hono and add it to the server. The cors middleware will add the necessary CORS headers to the server’s responses.
What is CORS?
CORS stands for Cross-Origin Resource Sharing. It is a security feature implemented in web browsers that restricts how web pages can interact with resources from other domains. CORS is a security feature that prevents a malicious website from making requests to a different website on behalf of the user.
By default, web browsers restrict cross-origin requests. This means that a web page served from one domain cannot make requests to a different domain. CORS allows web servers to specify which domains can access their resources.
To enable CORS, the server must include the Access-Control-Allow-Origin header in the response. This header specifies which domains are allowed to access the server’s resources.
The cors middleware in Hono automatically adds the necessary CORS headers to the server’s responses.
Testing CORS
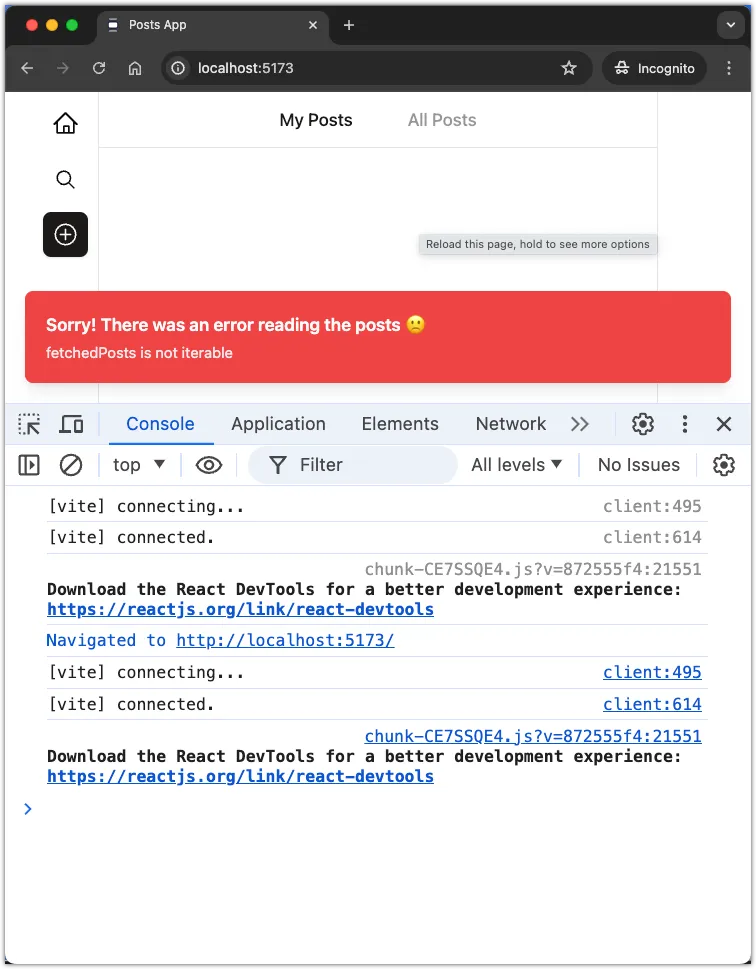
Visit the browser and refresh the web application. You should see an error message that says “There was an error reading posts.” However, if you inspect the console in the browser’s developer tools, you should not see any CORS-related errors.
Step 3: Update the web app
In this this step, we will update the web application to fetch posts from the API server.
Update fetchPosts in the web application
Open the web/src/data/api.ts file and update the fetchPosts function to fetch posts from the API server.
// Fetch all posts
export const fetchPosts = async (): Promise<PostType[]> => {
const response = await fetch(`${API_URL}/posts`);
if (!response.ok) {
throw new Error(`API request failed! with status: ${response.status}`);
}
- const data: PostType[] = await response.json();
+ const { data }: { data: PostType[] } = await response.json();
return data;
};
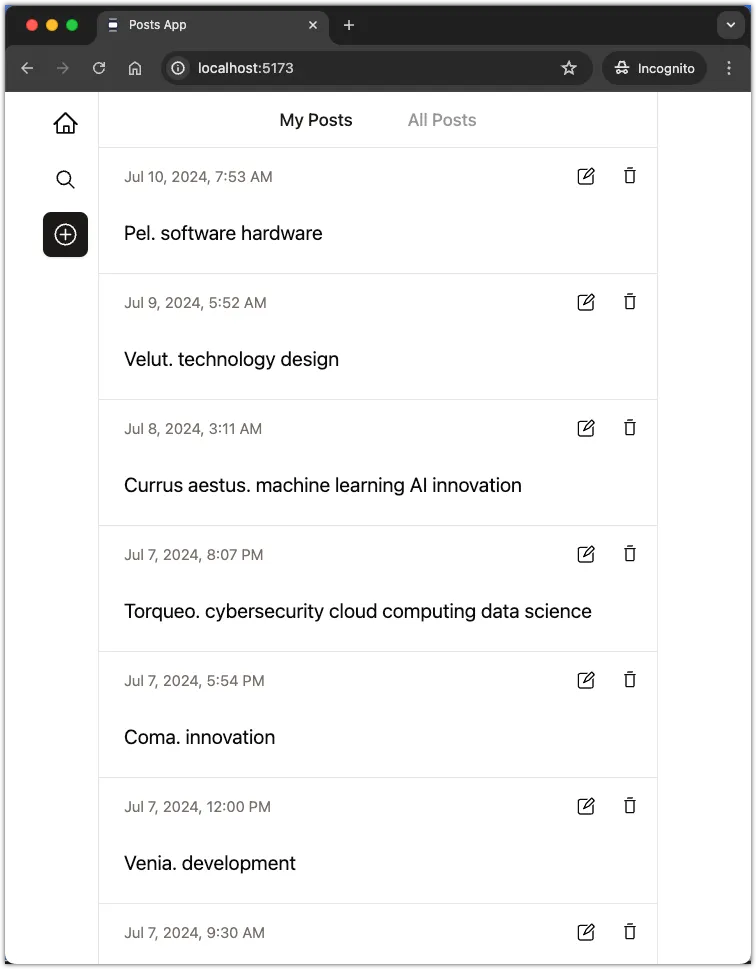
// the rest of the codeIn the code above, we update the fetchPosts function to fetch posts from the API server. We destructure the data property from the response JSON and return it.
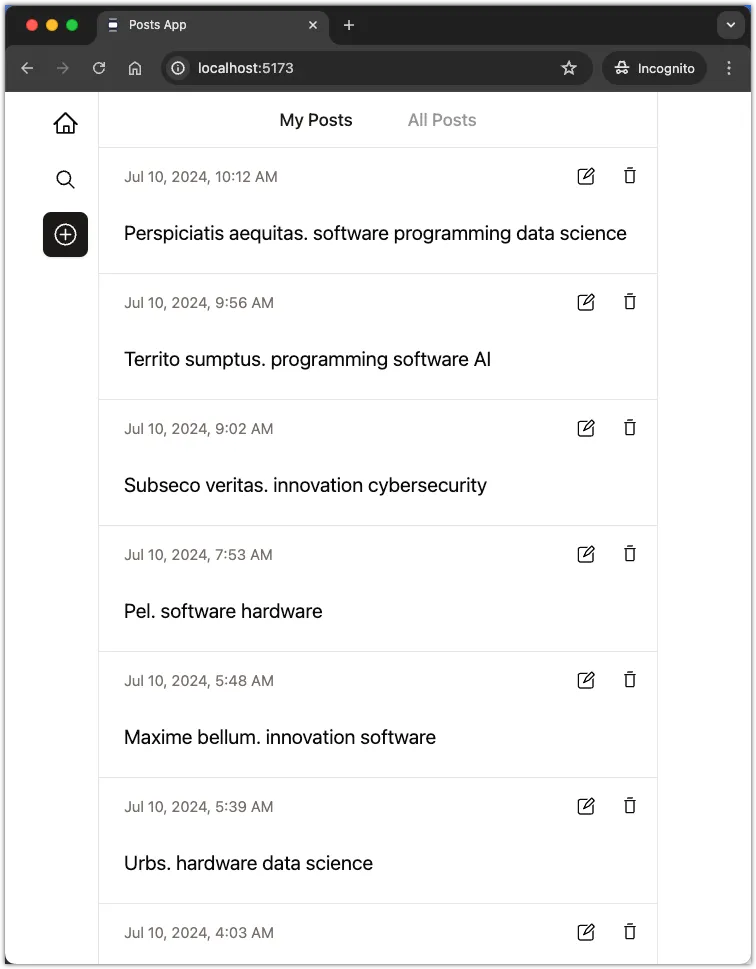
Revisit the browser and refresh the web application. You should see the posts from the API server displayed in the web application.
Aside: If the posts content are too long, adjust the seeding script to generate shorter posts.
Let the backend sort the posts
Open the web/src/components/posts.ts file and remove the sorting logic from the frontend.
import Post from "./post";
import useQueryPosts from "@/hooks/use-query-posts";
const Posts = () => {
const { posts } = useQueryPosts();
return (
<div className="">
{posts
- .sort((a, b) => (a.date > b.date ? -1 : 1))
.map((post) => (
<Post post={post} key={post.id} />
))}
</div>
);
};
export default Posts;Instead, let the backend sort the posts by date in descending order. Update the fetchPosts function in the web/src/data/api.ts file to fetch posts in descending order.
// Fetch all posts
export const fetchPosts = async (): Promise<PostType[]> => {
- const response = await fetch(`${API_URL}/posts`);
+ const response = await fetch(`${API_URL}/posts?sort=desc`);
if (!response.ok) {
throw new Error(`API request failed! with status: ${response.status}`);
}
const { data }: { data: PostType[] } = await response.json();
return data;
};
// the rest of the codeRevisit the browser and refresh the web application. You should see the posts sorted by date in descending order.
Step 4: Test CRUD operations
Let’s test all the CRUD operations on Posts through the web application. Make sure you can create, read, update, and delete posts from the web application.
Aside-1: When you create a new post, you don’t need to pass the date field. The server will automatically set the current date and time. So update the createPost function in the web/src/data/api.ts file to remove the date field.
export const createPost = async (content: string): Promise<PostType> => {
const response = await fetch(`${API_URL}/posts`, {
method: "POST",
headers: { "Content-Type": "application/json" },
body: JSON.stringify({
content,
- date: new Date().toISOString(),
}),
});
if (!response.ok) {
throw new Error(`API request failed! with status: ${response.status}`);
}
const data: PostType = await response.json();
return data;
};Aside-2: If you encounter any issues deleting posts, make sure you have enabled cascading deletes in the database. This must be done in the api/src/db/schema.ts file.
// posts table...
export const comments = sqliteTable("comments", {
id: integer("id").primaryKey({ autoIncrement: true }),
content: text("content").notNull(),
date: integer("date", { mode: "timestamp" }).notNull(),
postId: integer("post_id")
.notNull()
- .references(() => posts.id),
+ .references(() => posts.id, { onDelete: "cascade" }),
});Step 5: Commit and push changes
Commit all the changes to the Git repository and push them to GitHub.
git add .
git commit -m "feat: create fullstack application"Conclusion
In this task, you created a fullstack application by integrating the backend API server with the frontend client. You updated the API server to enable CORS and the web application to fetch posts from the API server. You tested all the CRUD operations on Posts through the web application.