Task 2: Authentication UI
In this task, you will create the user interface for the authentication flow in the Posts app. You will implement the sign-up and sign-in forms as well as the sign-out button.
Step 1: Define the User Type
In the web/src/data/types.ts file, define the UserType type.
export type UserType = {
id: string;
name: string;
username: string;
};Notice we don’t have a password field in the UserType type. We don’t need to store the password in the client-side state.
Step 2: Create the Auth API
In the web/src/data/api.ts file, create the signUp, signIn, and signOut functions:
import type { UserType } from "./types";
// Sign up a user
export const signUp = async (
name: string,
username: string,
password: string,
): Promise<UserType> => {
const response = await fetch(`${API_URL}/sign-up`, {
method: "POST",
headers: { "Content-Type": "application/json" },
body: JSON.stringify({ name, username, password }),
credentials: "include",
});
if (!response.ok) {
throw new Error(`API request failed! with status: ${response.status}`);
}
const { user }: { user: UserType } = await response.json();
return user;
};
// Sign in a user
export const signIn = async (
username: string,
password: string,
): Promise<UserType> => {
const response = await fetch(`${API_URL}/sign-in`, {
method: "POST",
headers: { "Content-Type": "application/json" },
body: JSON.stringify({ username, password }),
credentials: "include",
});
if (!response.ok) {
throw new Error(`API request failed! with status: ${response.status}`);
}
const { user }: { user: UserType } = await response.json();
return user;
};
// Sign out a user
export const signOut = async (): Promise<boolean> => {
const response = await fetch(`${API_URL}/sign-out`, {
method: "POST",
credentials: "include",
});
if (!response.ok) {
throw new Error(`API request failed! with status: ${response.status}`);
}
return true;
};Notice that we are using the credentials: "include" option in the fetch requests. This option allows the browser to send cookies and other credentials for cross-origin requests.
By default, the browser does not send cookies and other credentials in cross-origin requests. The credentials: "include" option allows the browser to send cookies and other credentials in cross-origin requests. This is required for the authentication flow. Unfortunately, this is not the only thing we need to do to make the authentication flow work. We also need to update the CORS policy in the API server and the cookie attributes in Lucia’s configuration.
Step 3: Update CORS policy
We have already added the cors middleware to the API server to allow cross-origin requests. This is needed since the web client and the API server are running on different ports. We need to update the cors middleware to allow credentials and the Set-Cookie header.
Update the api/src/app.ts file:
- app.use("/*", cors());
+ app.use(
+ "/*",
+ cors({
+ origin: (origin) => origin, // Allow any origin
+ credentials: true, // Allow credentials
+ allowMethods: ["GET", "POST", "PUT", "PATCH", "DELETE", "OPTIONS"],
+ allowHeaders: ["Content-Type", "Authorization"],
+ exposeHeaders: ["Set-Cookie"],
+ }),
+ );Let’s break down the options we added to the cors middleware:
origin: We are allowing any origin to make requests to the API server.credentials: We are allowing credentials to be sent with the requests. This is required for sending cookies.allowMethods: We are allowing the specified HTTP methods. TheOPTIONSmethod is required for preflight requests. The preflight request is a CORS mechanism to check if the actual request is safe to send. The browser sends an HTTP request with theOPTIONSmethod to the server before sending the actual request.allowHeaders: We are allowing the specified headers to be sent with the requests.exposeHeaders: We are allowing the specified headers to be exposed to the client.
Step 4: Update Lucia’s Configuration
We need to update Lucia’s configuration to set the secure and sameSite attributes for the session cookie. Make the following changes in the api/src/db/auth.ts file:
- export const lucia = new Lucia(adapter, {});
+ export const lucia = new Lucia(adapter, {
+ sessionCookie: {
+ attributes: {
+ secure: process.env.NODE_ENV === "production",
+ sameSite: "none",
+ },
+ },
+ });The secure attribute tells the browser to only send the cookie over HTTPS. We use process.env.NODE_ENV === "production" to set the secure attribute to false in development so we can set cookies over HTTP for local development. Moreover, we set the sameSite attribute to none to allow the cookie to be sent in cross-site requests.
Step 5: Update the Store
Now we have properly configured the API server and the Web client to exchange cookies, we can return to the Web client to set up the authentication flow.
Let’s update the store to include the user state. In the web/src/lib/store.ts file, add the following code:
import { map } from "nanostores";
import type { UserType } from "@/data/types";
const defaultUser: UserType = {
id: "",
name: "",
username: "",
};
export const $user = map<UserType>(defaultUser);
export function setUser(user: UserType) {
$user.set(user);
}
export function clearUser() {
$user.set(defaultUser);
}Notice we use map instead of atom to store the user state. This is because we want to store an object with multiple fields instead of a single value.
Step 6: Create the Auth Hook
In the web/src/hooks/use-auth.tsx file, create the useAuth hook:
import { signIn, signOut, signUp } from "@/data/api";
import { useStore } from "@nanostores/react";
import { $user, clearUser, setUser } from "@/lib/store";
import { toast } from "@/components/ui/use-toast";
function useAuth() {
const user = useStore($user);
const login = async (username: string, password: string) => {
try {
if (!username || !password) {
throw new Error("Username and password are required!");
}
const data = await signIn(username, password);
setUser(data);
} catch (error) {
const errorMessage =
(error as Error).message ?? "Please try again later!";
toast({
variant: "destructive",
title: "Sorry! There was an error signing in 🙁",
description: errorMessage,
});
}
};
const register = async (name: string, username: string, password: string) => {
try {
if (!name || !username || !password) {
throw new Error("Name, username, and password are required!");
}
const data = await signUp(name, username, password);
setUser(data);
} catch (error) {
const errorMessage =
(error as Error).message ?? "Please try again later!";
toast({
variant: "destructive",
title: "Sorry! There was an error signing up 🙁",
description: errorMessage,
});
}
};
const logout = async () => {
try {
await signOut();
clearUser();
} catch (error) {
const errorMessage =
(error as Error).message ?? "Please try again later!";
toast({
variant: "destructive",
title: "Sorry! There was an error signing out 🙁",
description: errorMessage,
});
}
};
return { user, login, register, logout };
}
export default useAuth;Let’s break down the useAuth hook:
- We use the
useStorehook to get the user state from the store. - The
loginfunction calls thesignInAPI function and sets the user state if the sign-in is successful. - The
registerfunction calls thesignUpAPI function and sets the user state if the sign-up is successful. - The
logoutfunction calls thesignOutAPI function and clears the user state. - We return the user state and the
login,register, andlogoutfunctions from the hook. - We show a toast notification if there is an error during the sign-in, sign-up, or sign-out process.
Step 7: Create the Authentication Routes
In the web/src/lib/router.ts file, add the following routes:
import { BASE_URL } from "@/env";
import { createRouter } from "@nanostores/router";
export const $router = createRouter({
home: `${BASE_URL}`, // Home page with a list of posts
post: `${BASE_URL}posts/:postId`, // Post page with a list of comments
login: `${BASE_URL}login`, // Login page
register: `${BASE_URL}register`, // Register page
});Notice we added the login and register routes to the router.
Step 8: Create a palceholder for the Login and Register pages
Let’s create placeholder components for the Login and Register pages.
-
In the
web/src/pages/login.tsxfile, add the following code:const Login = () => { return <>Login</>; }; export default Login; -
In the
web/src/pages/register.tsxfile, add the following code:const Register = () => { return <>Register</>; }; export default Register;
Now update the App component to show the Login and Register pages when the user navigates to the login and register routes:
import Feed from "@/components/layout/feed";
import Sidebar from "@/components/layout/sidebar";
import { Toaster } from "@/components/ui/toaster";
import { useStore } from "@nanostores/react";
import { $router } from "@/lib/router";
import Login from "./pages/login"; // 👈 Look here for the changes
import Register from "./pages/register"; // 👈 Look here for the changes
function App() {
const page = useStore($router);
if (!page) {
return (
<div className="flex items-center justify-center min-h-dvh">
404 Not Found
</div>
);
}
// 👀 Look here for the changes
if (page.route === "login" || page.route === "register") {
return (
<div className="flex items-center justify-center min-h-dvh">
{page.route === "login" && <Login />}
{page.route === "register" && <Register />}
</div>
);
}
return (
<div className="flex min-h-dvh">
<div className="flex-1 min-w-14">
<Sidebar />
</div>
<div className="w-full max-w-md mx-auto md:max-w-lg">
{page.route === "home" && <Feed postId={null} />}
{page.route === "post" && <Feed postId={page.params.postId} />}
</div>
<div className="flex-1">{/* Placeholder for another sidebar */}</div>
<Toaster />
</div>
);
}
export default App;Try to navigate to the the following routes in your browser to see the new pages.
http://localhost:5173/loginhttp://localhost:5173/register
Step 9: Create the User Menu
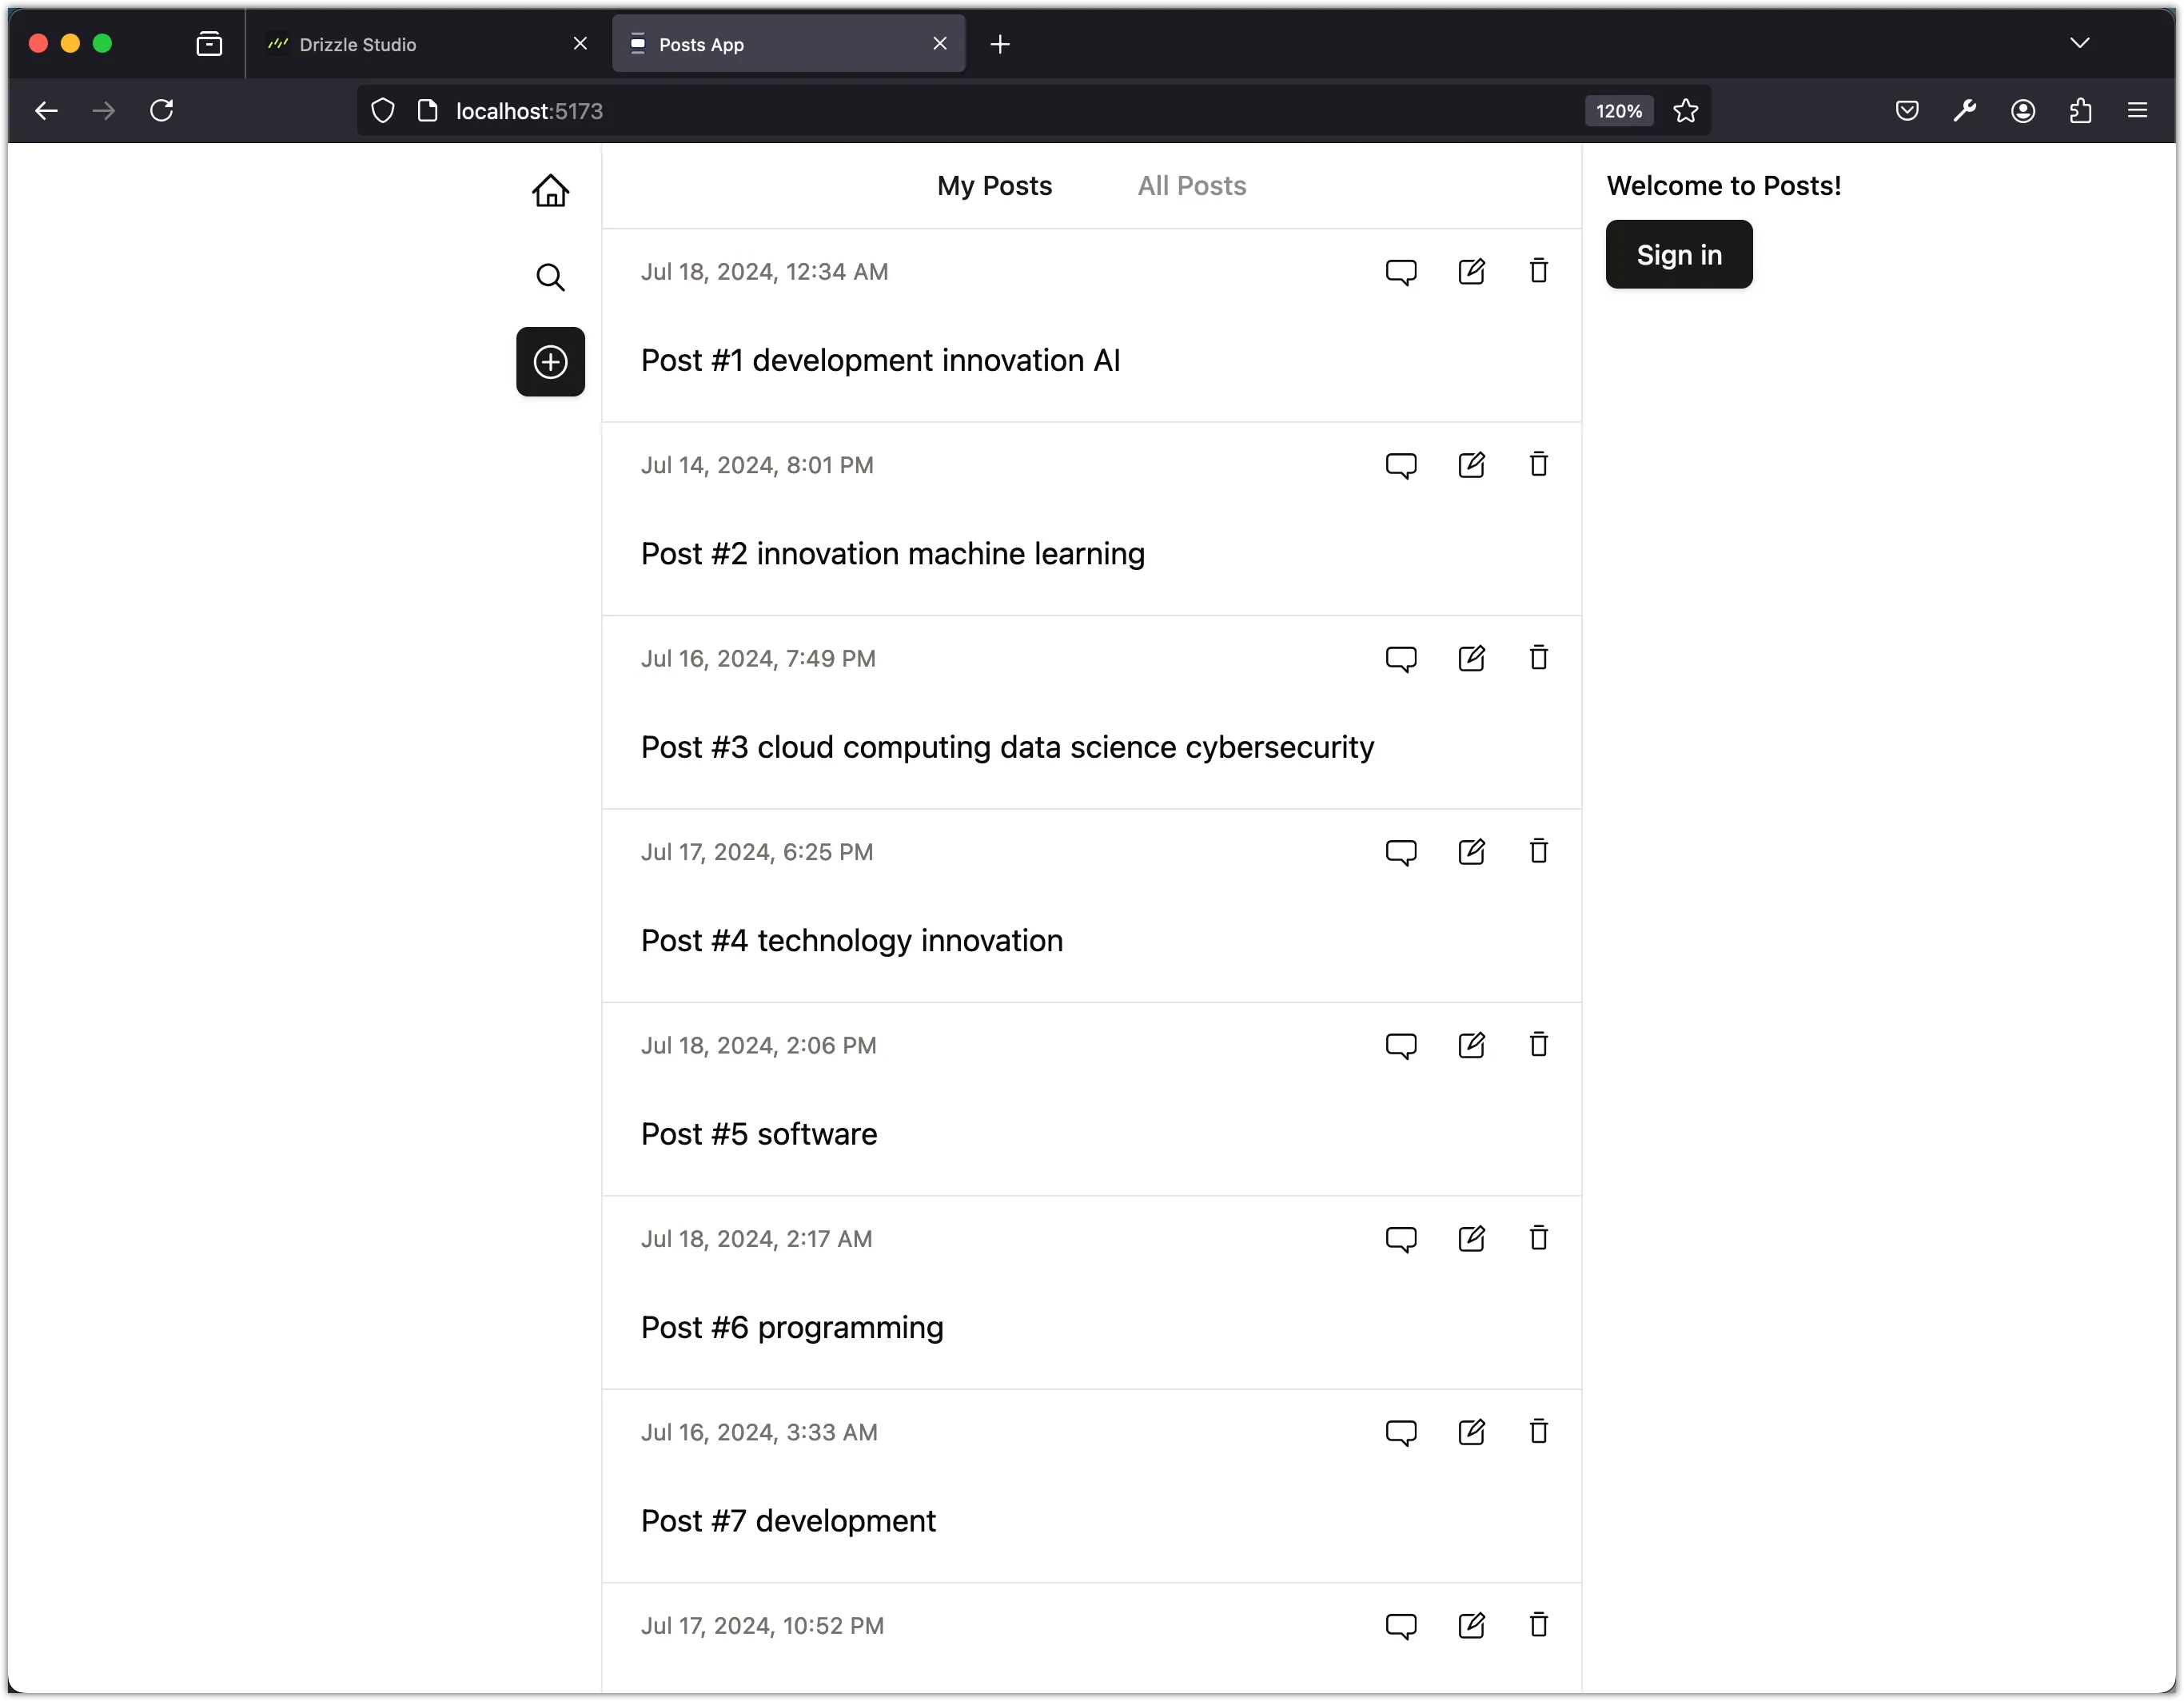
Let’s create a user menu component that shows the user’s name and a sign-out button if the user is signed in. If the user is not signed in, the component should show a welcome message and a sign-in button. We will place this component in the app layout on the right side of the Feed component.
Create the web/src/components/layout/user-menu.tsx file with the following code:
import useAuth from "@/hooks/use-auth";
import { Button } from "../ui/button";
import { openPage } from "@nanostores/router";
import { $router } from "@/lib/router";
const UserMenu = () => {
const { user, logout } = useAuth();
const navigateToLogin = (e: React.MouseEvent<HTMLButtonElement>) => {
e.preventDefault();
openPage($router, "login");
};
if (!user.name) {
return (
<div className="m-3 space-y-2">
<div className="text-sm font-medium text-foreground">
{`Welcome to Posts!`}
</div>
<Button variant={"default"} onClick={navigateToLogin}>
Sign in
</Button>
</div>
);
}
return (
<div className="m-3 space-y-2">
<div className="text-sm font-medium text-foreground">
{`Welcome ${user.name}!`}
</div>
<Button variant={"secondary"} onClick={logout}>
Sign out
</Button>
</div>
);
};
export default UserMenu;Let’s break down the UserMenu component:
- We use the
useAuthhook to get the user state and thelogoutfunction. - The
navigateToLoginfunction opens the login page when the user clicks the sign-in button. - If the user is not signed in, we show a welcome message and a sign-in button.
- If the user is signed in, we show the user’s name and a sign-out button.
- The sign-out button calls the
logoutfunction when clicked.
Let’s now add the UserMenu component to the App component:
// web/src/App.tsx
// Other imports
+ import UserMenu from "./components/layout/user-menu";
return (
<div className="flex min-h-dvh">
<div className="flex-1 min-w-14">
<Sidebar />
</div>
<div className="w-full max-w-md mx-auto md:max-w-lg">
{page.route === "home" && <Feed postId={null} />}
{page.route === "post" && <Feed postId={page.params.postId} />}
</div>
- <div className="flex-1">{/* Placeholder for another sidebar */}</div>
+ <div className="flex-1"><UserMenu /></div>
<Toaster />
</div>
);Now you should see the user menu on the right side of the Feed component. If you are not signed in, you should see a welcome message and a sign-in button. If you are signed in, you should see your name and a sign-out button:
Step 10: Create the Login Form
Let’s create the sign-in form. We will use the Label, Input, and Button components from the Shadcn UI library to create the form.
You should have already installed the Label and Button components in the previous tasks Install the Input component from the Shadcn UI library:
pnpm dlx shadcn@latest add inputNext, Update the web/src/pages/login.tsx file with the following code:
import { Label } from "@/components/ui/label";
import { Input } from "@/components/ui/input";
import { Button } from "@/components/ui/button";
import useAuth from "@/hooks/use-auth";
import { getPagePath, redirectPage } from "@nanostores/router";
import { $router } from "@/lib/router";
const Login = () => {
const { login } = useAuth();
const handleFormSubmit = async (e: React.FormEvent<HTMLFormElement>) => {
e.preventDefault();
const form = e.currentTarget as HTMLFormElement;
const formData = new FormData(form);
const username = formData.get("username") as string;
const password = formData.get("password") as string;
await login(username, password);
redirectPage($router, "home");
};
return (
<div className="w-full max-w-sm space-y-8">
<div>
<h2 className="text-3xl font-bold tracking-tight text-center text-foreground">
Sign in to your account
</h2>
<p className="mt-2 text-sm text-center text-muted-foreground">
Or{" "}
<a
href={getPagePath($router, "register")}
className="font-medium text-primary hover:text-primary/80 hover:underline"
>
create a new account
</a>
</p>
</div>
<form className="space-y-6" onSubmit={handleFormSubmit} method="POST">
<div>
<Label htmlFor="username">Username</Label>
<div className="mt-1">
<Input
id="username"
name="username"
type="text"
autoComplete="username"
required
placeholder="Enter a username"
/>
</div>
</div>
<div>
<Label htmlFor="password">Password</Label>
<div className="mt-1">
<Input
id="password"
name="password"
type="password"
autoComplete="current-password"
required
placeholder="Enter a password"
/>
</div>
</div>
<div>
<Button type="submit" className="w-full">
Sign in
</Button>
</div>
</form>
</div>
);
};
export default Login;Notice the use of the <form> element with the onSubmit event handler to handle the form submission. The onSubmit event happens when the button with the type="submit" attribute inside the form is clicked. We use the handleFormSubmit function to get the form data and call the login function from the useAuth hook. We then redirect the user to the home page after a successful sign-in.
We’ve also added a link to the register page. The link uses the getPagePath function from the router to get the path to the register page. We use the href attribute to set the link’s URL. It is common to link to the register page from the login page and vice versa.
Now you should see the sign-in form when you navigate to the login page:
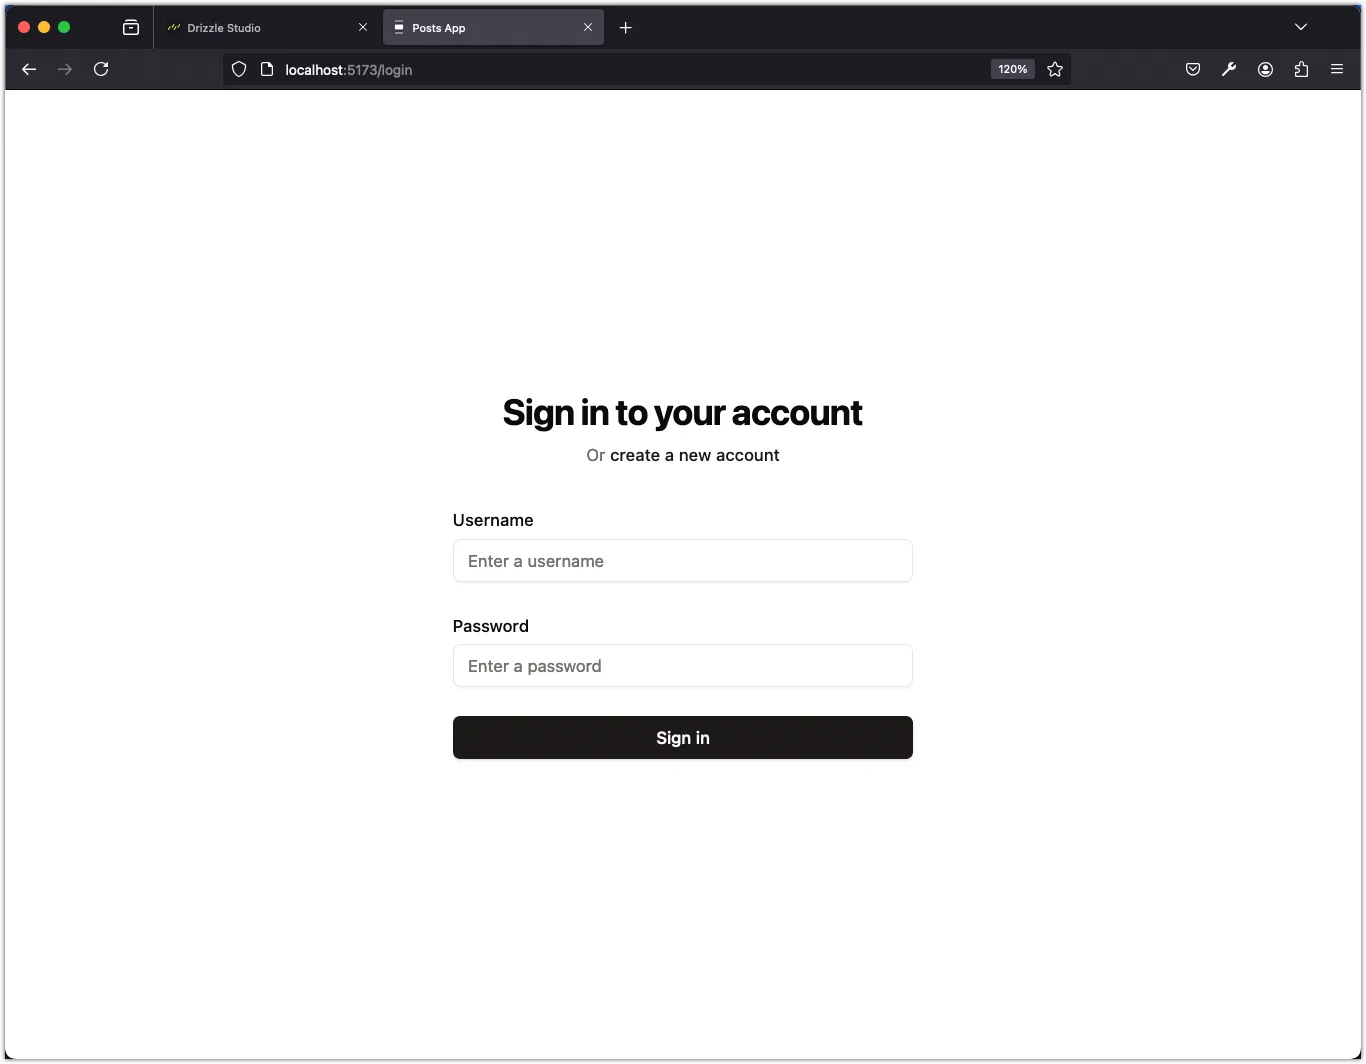
Enter your username and password and click the “Sign in” button. You should be signed in and redirected to the home page.

Notice the user menu now shows your name and a sign-out button!
Step 11: Create the Register Form
Let’s create the sign-up form. Update the web/src/pages/register.tsx file with the following code:
import { Label } from "@/components/ui/label";
import { Input } from "@/components/ui/input";
import { Button } from "@/components/ui/button";
import useAuth from "@/hooks/use-auth";
import { getPagePath, redirectPage } from "@nanostores/router";
import { $router } from "@/lib/router";
const Register = () => {
const { register } = useAuth();
const handleFormSubmit = async (e: React.FormEvent<HTMLFormElement>) => {
e.preventDefault();
const form = e.currentTarget as HTMLFormElement;
const formData = new FormData(form);
const name = formData.get("name") as string;
const username = formData.get("username") as string;
const password = formData.get("password") as string;
await register(name, username, password);
redirectPage($router, "home");
};
return (
<div className="w-full max-w-sm space-y-8">
<div>
<h2 className="text-3xl font-bold tracking-tight text-center text-foreground">
Create a new account
</h2>
<p className="mt-2 text-sm text-center text-muted-foreground">
Or{" "}
<a
href={getPagePath($router, "login")}
className="font-medium text-primary hover:text-primary/80 hover:underline"
>
sign in to your existing account
</a>
</p>
</div>
<form className="space-y-6" onSubmit={handleFormSubmit} method="POST">
<div>
<Label htmlFor="name">Name</Label>
<div className="mt-1">
<Input
id="name"
name="name"
type="text"
autoComplete="name"
required
placeholder="Enter your name"
/>
</div>
</div>
<div>
<Label htmlFor="username">Username</Label>
<div className="mt-1">
<Input
id="username"
name="username"
type="text"
autoComplete="username"
required
placeholder="Enter a username"
/>
</div>
</div>
<div>
<Label htmlFor="password">Password</Label>
<div className="mt-1">
<Input
id="password"
name="password"
type="password"
autoComplete="current-password"
required
placeholder="Enter a password"
/>
</div>
</div>
<div>
<Button type="submit" className="w-full">
Sign up
</Button>
</div>
</form>
</div>
);
};
export default Register;The sign-up form is similar to the sign-in form. We use the handleFormSubmit function to get the form data and call the register function from the useAuth hook. We then redirect the user to the home page after a successful sign-up.
Run the app and navigate to the register page:
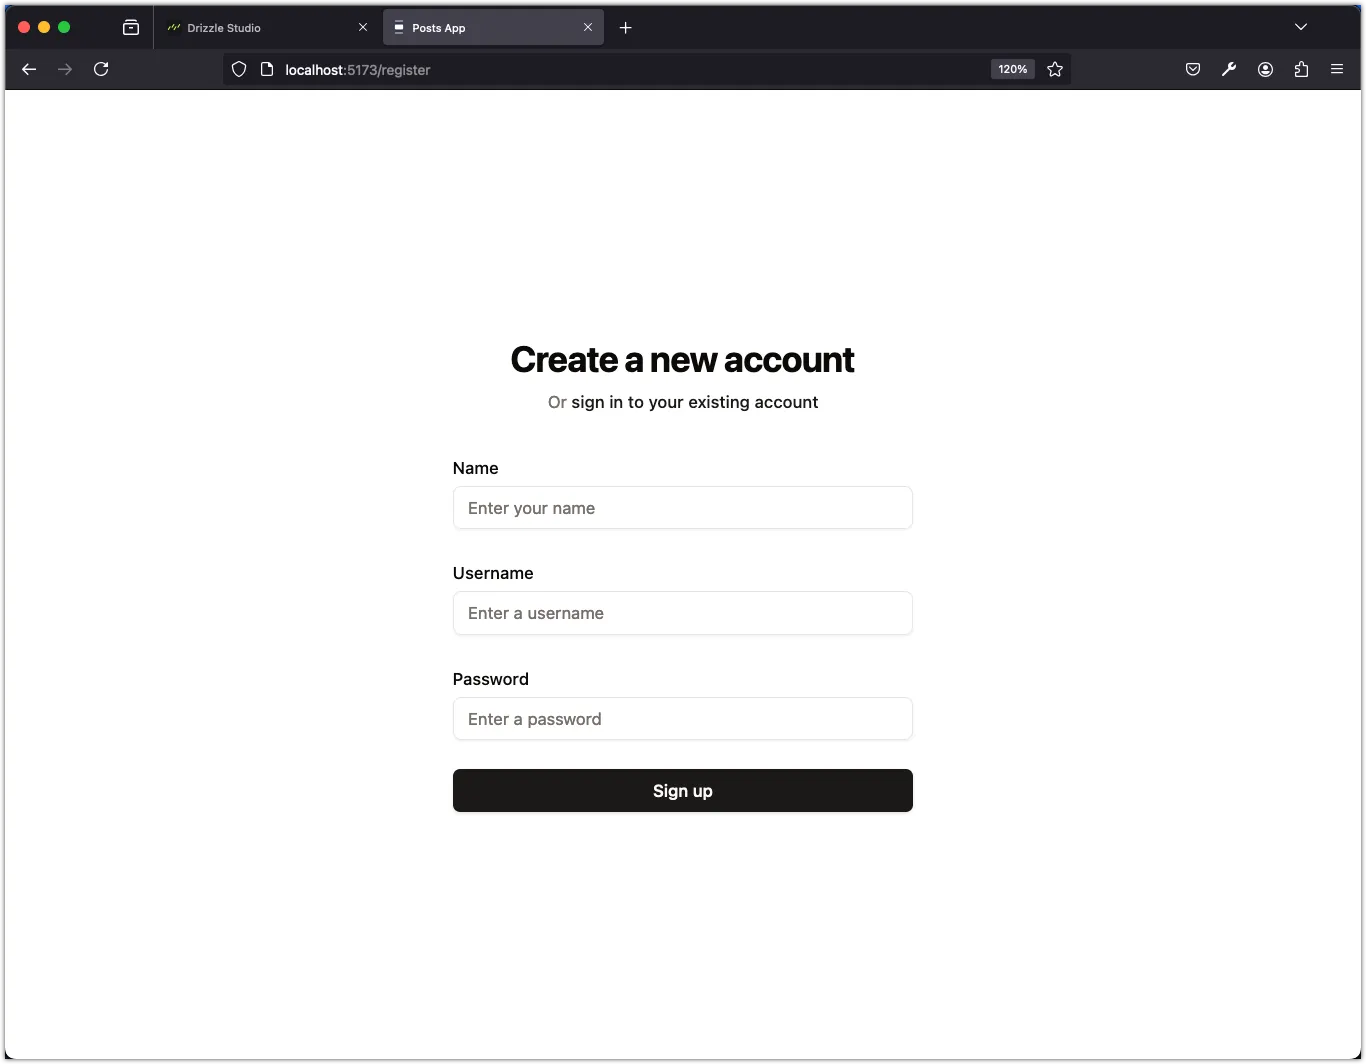
Sign up with your name, username, and password. You should be signed up and redirected to the home page.
Step 12: Test the Authentication Flow
Try the app! You should be able to sign up, sign in, and sign out. You should see the user menu change based on your authentication status. You should also be redirected to the home page after signing in or signing up.
Step 13: Persist the User State
The user state is lost when the page is refreshed. We need to persist the user state in the browser’s local storage to keep the user signed in across page refreshes.
First, install the @nanostores/persistent package:
pnpm add @nanostores/persistentThe @nanostores/persistent package provides a persistentMap function that allows us to create a persistent map store. The persistent map store stores the state in the browser’s local storage.
Now update the web/src/lib/store.ts file to use the persistentMap function:
- import { atom, map } from "nanostores";
+ import { atom } from "nanostores";
+ import { persistentMap } from "@nanostores/persistent";
- export const $user = map<UserType>(defaultUser);
+ export const $user = persistentMap<UserType>("user:", defaultUser);The persistentMap function takes a key prefix and the default value as arguments. The key prefix is used to store the state in the local storage. The default value is used when the state is not found in the local storage.
Conclusion
In this task, you created the user interface for the authentication flow in the Posts app. You implemented the sign-up and sign-in forms as well as the sign-out button. You also created the user menu component to show the user’s name and a sign-out button if the user is signed in. If the user is not signed in, the component shows a welcome message and a sign-in button. You also created the sign-in and sign-up pages and tested the authentication flow.