Task 1: Set up the React Project
In this task, we will set up the React project using Vite. We will also clean up the boilerplate code and add Tailwind CSS for styling, among other things.
Step 1: Create web and api directories
Unlike previous tutorials, we will create two separate directories for the frontend and backend parts of the application. This separation will help us manage the project more efficiently.
mkdir web apiWe will create the frontend part of the application in the web directory and the mock server API in the api directory.
Step 2: Create a new Vite project
Navigate to the web directory and create a new Vite project using the React template.
cd web
pnpm create vite . --template react-tsThis command will create a new Vite project with the React template in the current directory. It comes with TypeScript support out of the box.
Step 3: Clean up the boilerplate code
Let’s clean up the boilerplate code generated by Vite to keep only the essential files and remove unnecessary ones.
rm public/vite.svg src/assets/react.svg src/App.css README.md .gitignore
rmdir src/assets
echo > src/index.cssNotice that I have removed the README.md and .gitignore files as well. We will create a new README.md and .gitignore file later in this tutorial, and place them in the root of the project.
Add favicon.svg
Create a new favicon.svg file in the public directory. This will be used as the favicon for the application.
touch public/favicon.svgAdd the following content to the favicon.svg file:
<?xml version="1.0" encoding="utf-8"?>
<!-- Uploaded to: SVG Repo, www.svgrepo.com, Generator: SVG Repo Mixer Tools -->
<svg width="800px" height="800px" viewBox="0 0 24 24" fill="white"
xmlns="http://www.w3.org/2000/svg">
<path
d="M5 11.5C5 9.61438 5 8.67157 5.58579 8.08579C6.17157 7.5 7.11438 7.5 9 7.5H15C16.8856 7.5 17.8284 7.5 18.4142 8.08579C19 8.67157 19 9.61438 19 11.5V12.5C19 14.3856 19 15.3284 18.4142 15.9142C17.8284 16.5 16.8856 16.5 15 16.5H9C7.11438 16.5 6.17157 16.5 5.58579 15.9142C5 15.3284 5 14.3856 5 12.5V11.5Z"
stroke="#1C274C" stroke-width="1.5" />
<path opacity="0.5" d="M19 2V2.5C19 3.88071 17.8807 5 16.5 5H7.5C6.11929 5 5 3.88071 5 2.5V2"
stroke="#1C274C" stroke-width="1.5" stroke-linecap="round" />
<path opacity="0.5"
d="M19 22V21.5C19 20.1193 17.8807 19 16.5 19H7.5C6.11929 19 5 20.1193 5 21.5V22"
stroke="#1C274C" stroke-width="1.5" stroke-linecap="round" />
</svg>The SVG code above creates a simple icon that represents a list of posts.
Update index.html
Update the index.html file in the public directory to include the new favicon.
<!doctype html>
<html lang="en">
<head>
<meta charset="UTF-8" />
<link rel="icon" type="image/svg+xml" href="/favicon.svg" />
<meta name="viewport" content="width=device-width, initial-scale=1.0" />
<title>Posts App</title>
</head>
<body>
<div id="root"></div>
<script type="module" src="/src/main.tsx"></script>
</body>
</html>Notice that we have also updated the title of the application to “Posts App”.
Update App.tsx
Update the App.tsx file in the src directory to display a simple message.
function App() {
return <div>Posts App</div>;
}
export default App;Update README.md
Add README.md to the root of the project with the following content:
# Posts - A Simplified Social Media Platform
Posts is a minimalistic clone of <https://posts.cv/>, which is itself a simplified and scaled-down alternative to Twitter. We built this clone solely for educational purposes.
This repository contains the CRUD operations for posts. It focuses on the frontend part of the application. The backend part is a mock server API that serves the frontend with data.
## Run locally
1. Clone this repository.
2. Navigate to the project directory.
3. To run the mock server API, please navigate to the `api` directory and run `pnpm start`. This will start the mock server on `http://localhost:3000`.
4. Next, add `.env` file to `web` directory with the following content:
```bash
VITE_API_URL=http://localhost:3000
```
5. Finally, start the flash cards web application with `pnpm run dev` inside the `web` directory. This will run the application on `http://localhost:5173`.We will add a .gitignore file later in this tutorial.
Install Dependencies and Start the App
Let’s install the dependencies and start the application to see the changes.
pnpm install
pnpm dev
Step 4: Install Prettier
As usual, we will install Prettier to format our code automatically.
pnpm install --save-dev --save-exact prettierAdd .prettierrc.json
Make sure to create a .prettierrc.json file in the web folder. This file will contain the Prettier configuration.
touch .prettierrc.jsonAdd the following configuration to the .prettierrc.json file:
{
"semi": true,
"trailingComma": "all",
"singleQuote": false,
"printWidth": 80,
"tabWidth": 2,
"endOfLine": "auto"
}Add .prettierignore file
Create a .prettierignore file in the web folder. This file will contain the paths to ignore when formatting the code.
touch .prettierignoreAdd the following paths to the .prettierignore file:
distAdd prettier script to package.json
Update the package.json file in the web folder to include the prettier script.
"prettier": "prettier --write \"src/**/*.{js,ts,jsx,tsx}\" --config \".prettierrc.json\"",Integrate Prettier with ESLint
We will integrate Prettier with ESLint to ensure that our linter and formatter work together seamlessly. This integration will help us maintain a consistent code style throughout the project. Install the required packages:
pnpm install --save-dev eslint-plugin-prettier eslint-config-prettierUpdate .eslintrc.json
Update the .eslintrc.json file in the web folder to include the Prettier plugin.
{
"extends": [
"some-other-config-you-use",
"plugin:prettier/recommended"
],
"ignorePatterns": ["dist", ".eslintrc.cjs", "*.config.*"],
}Update package.json
Update the lint script in the package.json file as follows:
"lint": "eslint --fix \"src/**/*.{js,ts,jsx,tsx}\"",This --fix flag will automatically fix the linting issues in the code when you run the lint script.
Run Prettier and ESLint
Let’s run Prettier and ESLint to make sure everything is set up correctly.
pnpm prettier
pnpm lintStep 5: Install Tailwind CSS
Now that we have set up Prettier and ESLint, let’s install Tailwind CSS for styling the application.
pnpm install -D tailwindcss postcss autoprefixerAdd tailwind.config.js
Initialize the Tailwind CSS configuration file by running the following command:
npx tailwindcss init -pThis command will create a tailwind.config.js and a postcss.config.js file in the root of the project.
Update tailwind.config.js
We need to update the tailwind.config.js file to include the paths to the HTML and JavaScript files in the project.
/** @type {import('tailwindcss').Config} */
export default {
content: [
"./index.html",
"./src/**/*.{js,ts,jsx,tsx}",
],
theme: {
extend: {},
},
plugins: [],
};Add @tailwind directives to index.css
Next, we need to add the @tailwind directives to the src/index.css file to include the Tailwind CSS styles.
@tailwind base;
@tailwind components;
@tailwind utilities;Test Tailwind CSS
To test if Tailwind CSS is working correctly, update the App.tsx file to include some Tailwind CSS classes.
function App() {
return (
<div className="flex justify-center items-center text-3xl min-h-screen">
Posts App
</div>
);
}
export default App;Run the application to see if Tailwind CSS is applied correctly.

Step 6: Install Shadcn UI
Shadcn UI is a collection of accessible and customizable components for React applications. We don’t need to install it as it is not an NPM package. Instead, we will configure our application and use shadcn-ui CLI to copy the components to our project.
Update tsconfig.*.json
Add path aliases to the tsconfig.json, tsconfig.app.json, and tsconfig.node.json files to simplify the import paths in the project.
{
"compilerOptions": {
// ...
/* Path aliases */
"baseUrl": ".",
"paths": {
"@/*": ["./src/*"]
}
// ...
}
}Update vite.config.ts
Add an alias to the vite.config.ts file to resolve the path aliases in the project.
import path from "path";
import { defineConfig } from "vite";
import react from "@vitejs/plugin-react";
// https://vitejs.dev/config/
export default defineConfig({
base: "",
plugins: [react()],
resolve: {
alias: {
"@": path.resolve(__dirname, "./src"),
},
},
});Since we imported path from Node.js, we need to install the types for Node.js.
pnpm i -D @types/nodeCreate components.json file
The CLI of Shadcn UI relies on a components.json file to copy the components to the project. We can use the CLI to create this file.
pnpm dlx shadcn@latest initYou will be prompted with a series of questions to configure the project. Here are the answers you can provide:
✔ Preflight checks.
✔ Verifying framework. Found Vite.
✔ Validating Tailwind CSS.
✔ Validating import alias.
✔ Which style would you like to use? › New York
✔ Which color would you like to use as the base color? › Stone
✔ Would you like to use CSS variables for theming? yesOnce done, you will see the following output:
✔ Writing components.json.
✔ Checking registry.
✔ Updating tailwind.config.js
✔ Updating src/index.css
✔ Installing dependencies.
✔ Created 1 file:
- src/lib/utils.ts
Success! Project initialization completed.
You may now add components.You should now have a components.json file in the web folder with the following content:
{
"$schema": "https://ui.shadcn.com/schema.json",
"style": "new-york",
"rsc": false,
"tsx": true,
"tailwind": {
"config": "tailwind.config.js",
"css": "src/index.css",
"baseColor": "stone",
"cssVariables": true,
"prefix": ""
},
"aliases": {
"components": "@/components",
"utils": "@/lib/utils",
"ui": "@/components/ui",
"lib": "@/lib",
"hooks": "@/hooks"
}
}Test Shadcn UI
Let’s add a button component from Shadcn UI to the project.
pnpm dlx shadcn@latest add buttonThis command will copy the button component to the src/components/ui directory. You can now use the button component in your application.
import { Button } from "@/components/ui/button";
function App() {
return (
<div className="flex justify-center items-center text-3xl min-h-screen">
<Button>Posts App</Button>
</div>
);
}
export default App;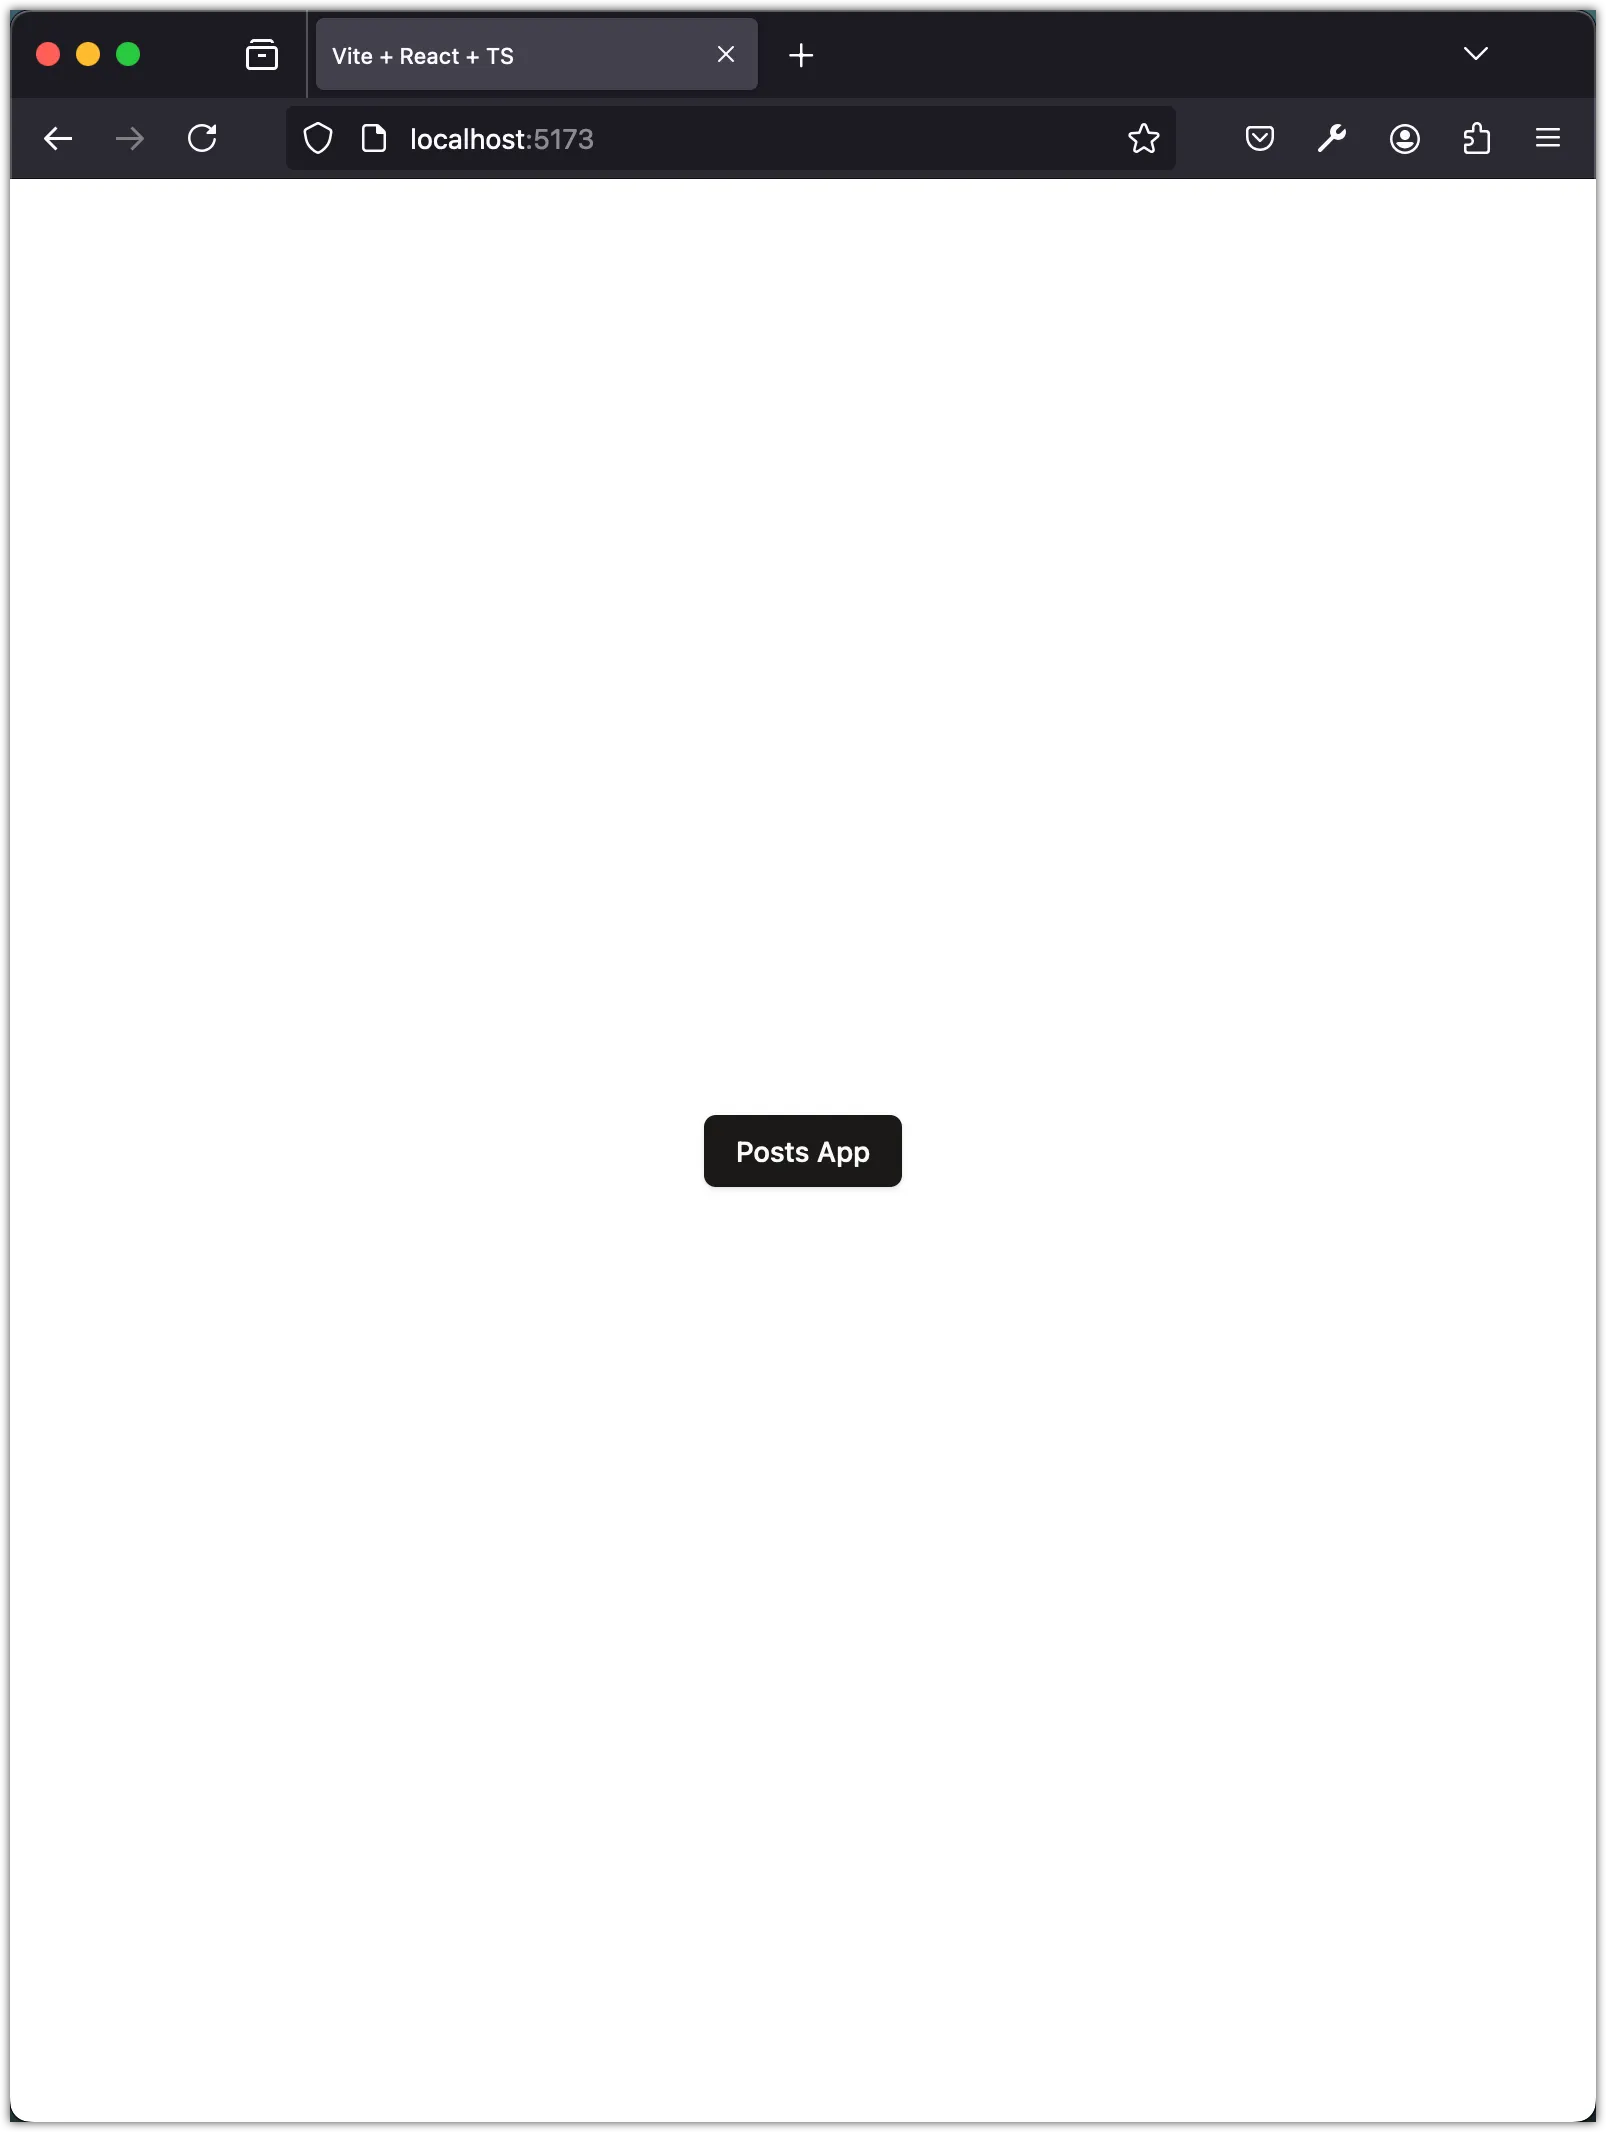
Step 7: Add GitHub Action to deploy the app
We will add a GitHub Action workflow to deploy the Vite app to GitHub Pages automatically. This workflow will run every time we push changes to the main branch.
First, we need to initialize a new Git repository in the project directory. To that aim, add a .gitignore to the root of the project with the following content:
# Logs
logs
*.log
npm-debug.log*
yarn-debug.log*
yarn-error.log*
pnpm-debug.log*
lerna-debug.log*
node_modules
dist
dist-ssr
*.local
# Editor directories and files
.vscode/*
!.vscode/extensions.json
.idea
.DS_Store
*.suo
*.ntvs*
*.njsproj
*.sln
*.sw?
# Environment variables
.envThen initialize a new Git repository and commit the changes:
git init
git add .
git commit -m "Set up the React project with Vite"Next, create a new GitHub Action workflow file in the .github/workflows directory. Name the file deploy.yml and add the following content:
name: Deploy Vite app to GitHub Pages
on:
push:
branches:
- main
permissions:
contents: read
pages: write
id-token: write
concurrency:
group: "pages"
cancel-in-progress: true
jobs:
build:
runs-on: ubuntu-latest
steps:
- name: Checkout
uses: actions/checkout@v4.1.6
with:
sparse-checkout: "web"
sparse-checkout-cone-mode: false
- name: Move files in the "web" folder to the root
run: |
ls -lah
shopt -s dotglob
mv web/* .
rm -rf web
ls -lah
- name: Detect package manager
id: detect-package-manager
run: |
if [ -f "${{ github.workspace }}/pnpm-lock.yaml" ]; then
echo "::set-output name=manager::pnpm"
echo "::set-output name=command::install"
echo "::set-output name=runner::pnpx --no-install"
exit 0
elif [ -f "${{ github.workspace }}/yarn.lock" ]; then
echo "::set-output name=manager::yarn"
echo "::set-output name=command::install"
echo "::set-output name=runner::yarn"
exit 0
elif [ -f "${{ github.workspace }}/package-lock.json" ]; then
echo "::set-output name=manager::npm"
echo "::set-output name=command::ci"
echo "::set-output name=runner::npx --no-install"
exit 0
else
echo "Unable to determine package manager"
exit 1
fi
- name: Install pnpm
if: steps.detect-package-manager.outputs.manager == 'pnpm'
run: npm install -g pnpm
- name: Install yarn
if: steps.detect-package-manager.outputs.manager == 'yarn'
run: npm install -g yarn
- name: Setup Node
uses: actions/setup-node@v4
with:
node-version: "latest"
cache: ${{ steps.detect-package-manager.outputs.manager }}
- name: Configure GitHub Pages
uses: actions/configure-pages@v5.0.0
- name: Install dependencies
run: ${{ steps.detect-package-manager.outputs.manager }} ${{ steps.detect-package-manager.outputs.command }}
- name: Build with Vite
run: ${{ steps.detect-package-manager.outputs.manager }} run build
- name: Upload GitHub Pages artifact
uses: actions/upload-pages-artifact@v3.0.1
with:
path: ./dist
deploy:
environment:
name: github-pages
url: ${{ steps.deployment.outputs.page_url }}
runs-on: ubuntu-latest
needs: build
steps:
- name: Deploy GitHub Pages site
id: deployment
uses: actions/deploy-pages@v4.0.5Notice this section in the workflow file:
steps:
- name: Checkout
uses: actions/checkout@v4.1.6
with:
sparse-checkout: "web"
sparse-checkout-cone-mode: false
- name: Move files in the "web" folder to the root
run: |
ls -lah
shopt -s dotglob
mv web/* .
rm -rf web
ls -lahThis section checks out the repository and moves the contents of the web directory to the root of the project. This is necessary because our Vite project is in the web directory, but GitHub Pages expects the files to be in the root directory.
Conclusion
In this task, we set up the React project using Vite. We cleaned up the boilerplate code, added Tailwind CSS for styling, and integrated Shadcn UI for accessible components. We also configured Prettier and ESLint for code formatting and linting. Finally, we added a GitHub Action workflow to deploy the Vite app to GitHub Pages automatically.