Task 3: Set up a Mock Server API
In this task, we will set up a mock server API using json-server. The API will serve the frontend with data for the posts app. We will create a db.json file with some sample posts and run the mock server API using json-server. We will also add API calls to fetch, create, update, and delete posts.
Step 1: Create db.json file
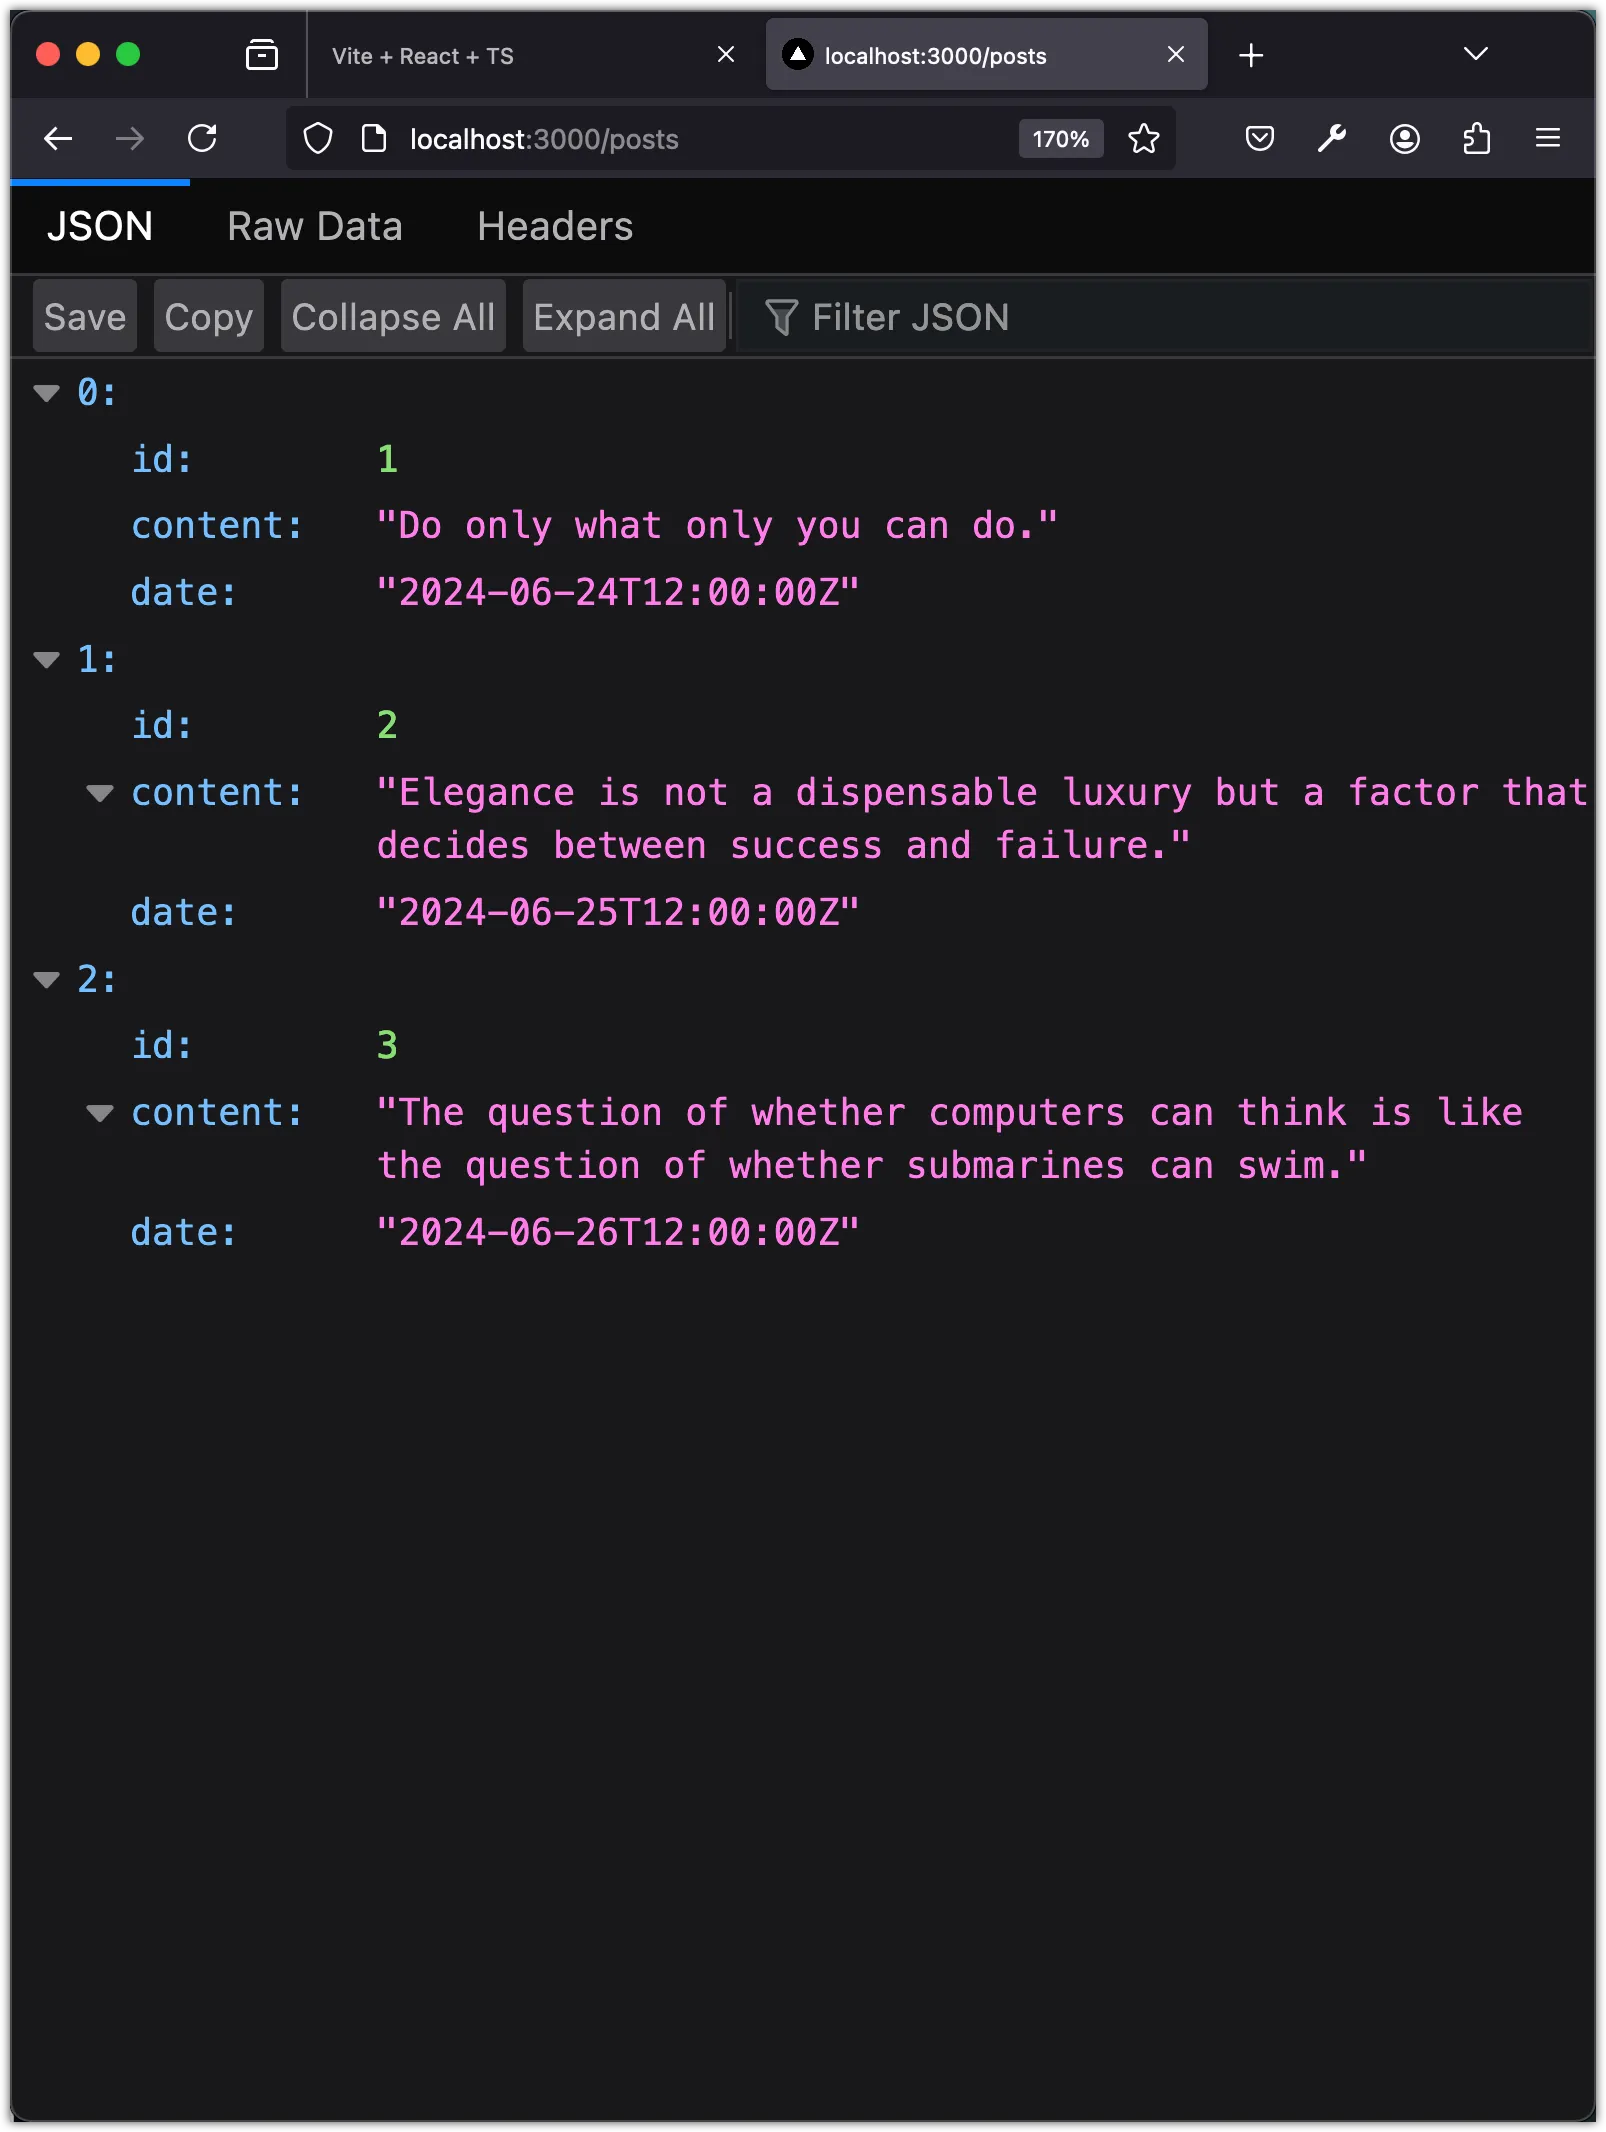
We already have a sample db.json file with some posts data in web/src/data folder. You can create a new one or use the existing one. Bring this file to the api directory.
{
"posts": [
{
"id": 1,
"content": "Do only what only you can do.",
"date": "2024-06-24T12:00:00Z"
},
{
"id": 2,
"content": "Elegance is not a dispensable luxury but a factor that decides between success and failure.",
"date": "2024-06-25T12:00:00Z"
},
{
"id": 3,
"content": "The question of whether computers can think is like the question of whether submarines can swim.",
"date": "2024-06-26T12:00:00Z"
}
]
}This file will be used by json-server to serve the posts data.
Step 2: Add package.json scripts
Next, create a package.json file in the api directory with the following content:
{
"name": "posts-api",
"version": "1.0.0",
"description": "Mock API for posts app",
"scripts": {
"start": "npx json-server@0.17.4 db.json"
},
"keywords": [],
"author": "",
"license": "ISC"
}This file contains the start script that runs json-server with the db.json file.
Step 3: Run and test the API
Navigate to the api directory and run the following command:
cd api
pnpm startYou should see the following output:
\{^_^}/ hi!
Loading db.json
Done
Resources
http://localhost:3000/posts
Home
http://localhost:3000
Type s + enter at any time to create a snapshot of the databaseYou can now access the API homepage at http://localhost:3000.
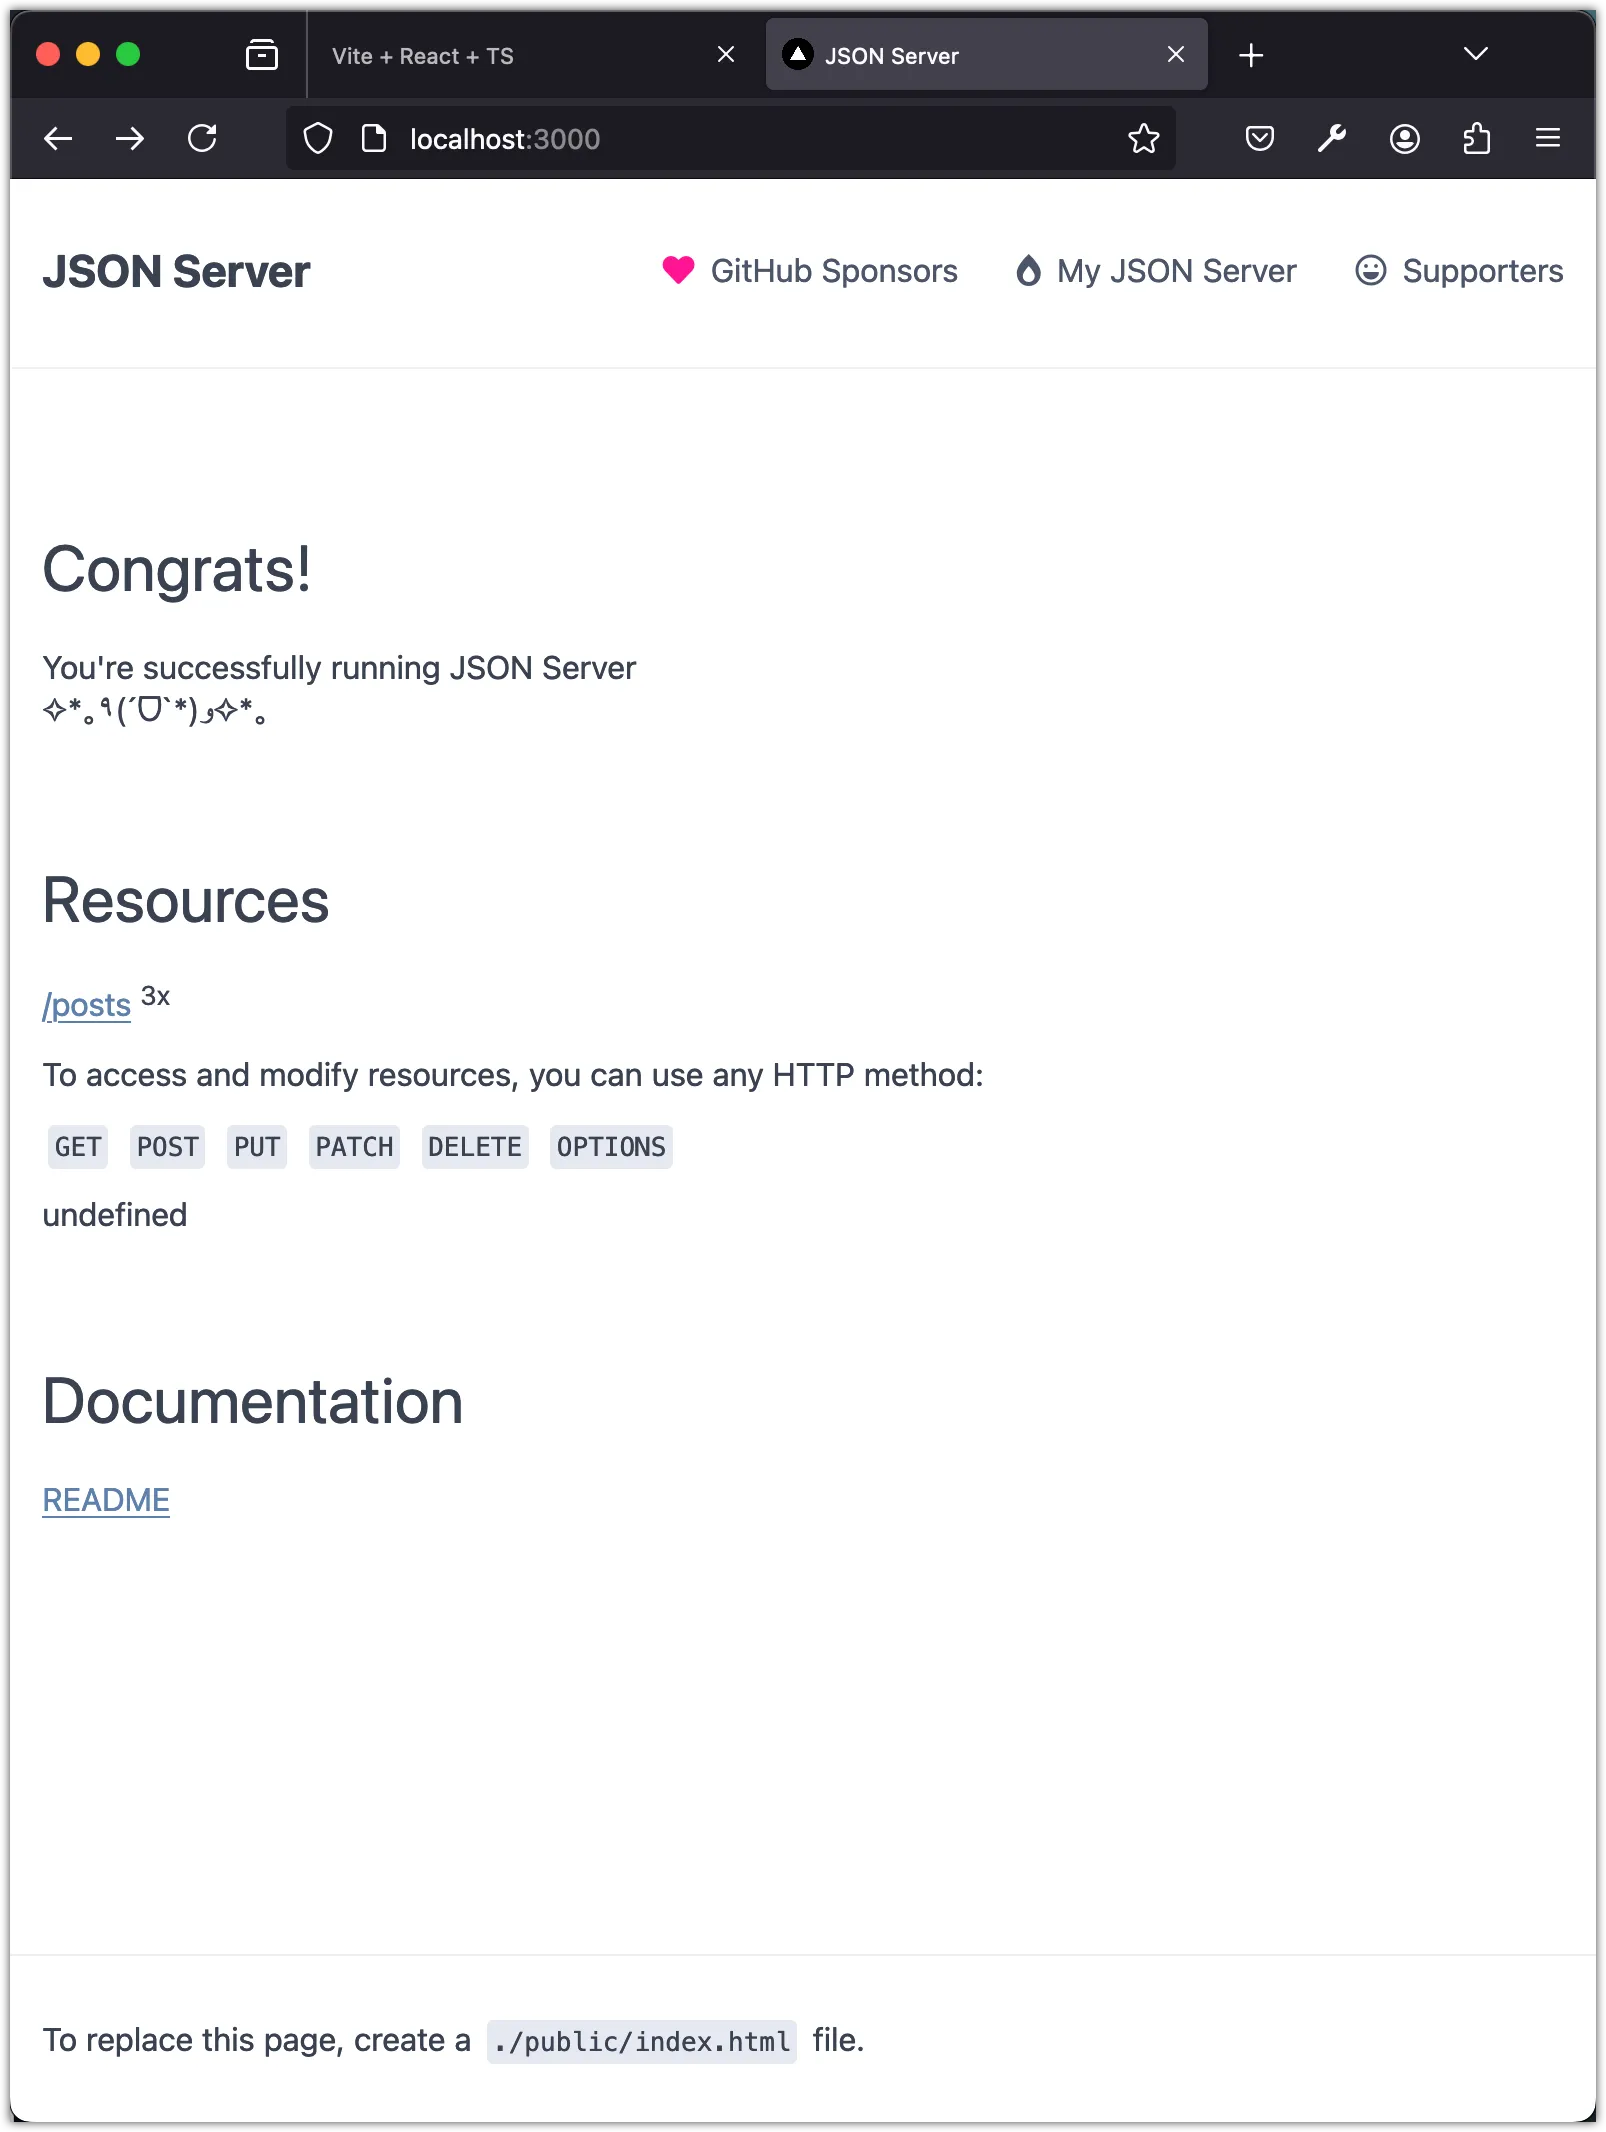
Visit http://localhost:3000/posts to see the posts data.
Step 4: Add API calls
In this step, we will add API calls to fetch, create, update, and delete posts. We will create a new file env.ts in the web/src directory to store the API URL. We will then create functions to fetch all posts, create a post, update a post, and delete a post.
Add Environment Variables
Currently, the API server runs on http://localhost:3000. However, this might change in the future. In particular, when deploying the app to production, the API URL will be different. To make it easier to update the API URL, we will store it in an environment variable. Create a .env file in the web directory with the following content:
VITE_API_URL=http://localhost:3000Notice the use of VITE_ prefix for environment variables in Vite.
Next, create a new file env.ts in the web/src directory to access the environment variable and expose them as constants.
// src/env.ts
export const API_URL: string = import.meta.env.VITE_API_URL;Notice the use of import.meta.env to access the environment variables when using Vite.
Get all posts
Create a new file api.ts in the web/src/data directory and add the following code to fetch all posts:
import { API_URL } from "@/env";
import { PostType } from "./types";
// Fetch all posts
export const fetchPosts = async (): Promise<PostType[]> => {
const response = await fetch(`${API_URL}/posts`);
if (!response.ok) {
throw new Error(`API request failed! with status: ${response.status}`);
}
const data: PostType[] = await response.json();
return data;
};Delete a post
Add the following code to delete a post by id:
// Delete a post by id
export const deletePost = async (id: string): Promise<boolean> => {
const response = await fetch(`${API_URL}/posts/${id}`, { method: "DELETE" });
if (!response.ok) {
throw new Error(`API request failed! with status: ${response.status}`);
}
return true;
};Notice that we return true if the deletion is successful. This is because json-server does not return any data when deleting a resource. In a real-world scenario, the API would return the deleted resource.
Moreover, notice how we use { method: "DELETE" } in the fetch call to send a DELETE request to the server.
Create a post
Add the following code to create a new post:
// Create a post
export const createPost = async (content: string): Promise<PostType> => {
const response = await fetch(`${API_URL}/posts`, {
method: "POST",
headers: { "Content-Type": "application/json" },
body: JSON.stringify({
content,
date: new Date().toISOString(),
}),
});
if (!response.ok) {
throw new Error(`API request failed! with status: ${response.status}`);
}
const data: PostType = await response.json();
return data;
};Notice how we use { method: "POST" } in the fetch call to send a POST request to the server. We also include the Content-Type header with the value application/json to indicate that we are sending JSON data in the request body.
The request body contains the content of the post and the date of the post, which is set to the current date and time using new Date().toISOString().
Update a post
Add the following code to update a post by id:
// Edit a post
export const editPost = async (
id: string,
content: string,
): Promise<PostType> => {
const response = await fetch(`${API_URL}/posts/${id}`, {
method: "PATCH",
headers: { "Content-Type": "application/json" },
body: JSON.stringify({ content }),
});
if (!response.ok) {
throw new Error(`API request failed! with status: ${response.status}`);
}
const data: PostType = await response.json();
return data;
};Notice how we use { method: "PATCH" } in the fetch call to send a PATCH request to the server. We also include the Content-Type header with the value application/json to indicate that we are sending JSON data in the request body.
The PATCH request updates the content of the post with the new content value provided. The date of the post remains unchanged. In some cases, you may want to use the PUT method to replace the entire resource with the new data.
Conclusion
In this task, we set up a mock server API using json-server to serve the frontend with data for the posts app. We created a db.json file with sample posts data and ran the mock server API using json-server. We also added API calls to fetch, create, update, and delete posts. We stored the API URL in an environment variable and created functions to interact with the API.